Riveting BasicsI used a standard Rivet Gun and flaring rivets. Use what you have available. These directions are mainly here to show you how EASY it is it rivet. I too was leery of riveting because I thought, "only Professionals use RIVETS." Baahumbug! Anyone can use RIVETS... we just don't. So get out there and attempt something new. You'll LOVE it! |
||
| |
||
|
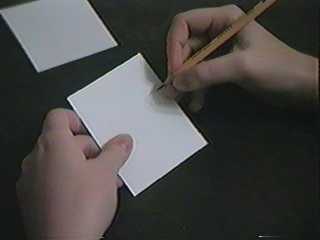
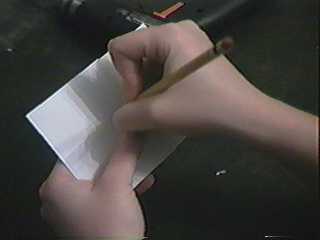
First you need to grab the item that will go on top (in this tutorial, a piece of plastic). Use a marking instrument (pen/pencil) and mark a spot where you will place the rivet. Try to stay away from the edge as much as possible... Too close to the edge will cause the rivet to tear through the plastic if enough stress is applied to it. | |
| |
||
|
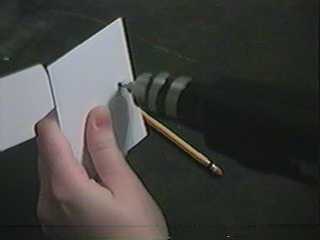
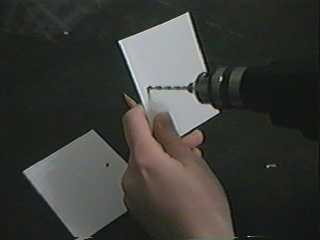
Drill a hole for the rivet using an 1/8 inch drill bit. Or what ever drill bit is needed for the rivet to fit through the hole. | |
| |
||
|
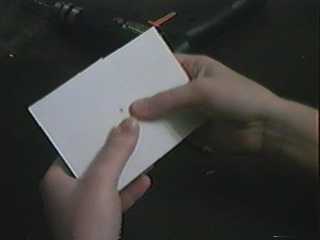
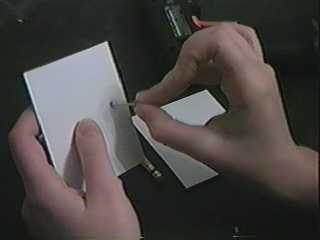
Now grab the LOWER piece of plastic and line up the plastic to where they need to be. Be very careful about alignment, this is crucial to the look of the finished piece. | |
| |
||
|
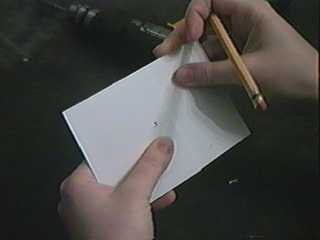
Now mark the hole on the lower piece of plastic. | |
| |
||
|
Having fun yet? | |
| |
||
|
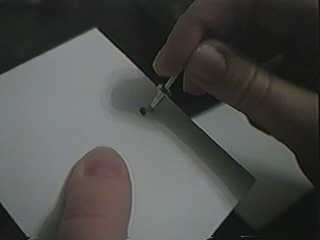
Now drill a hole at that mark you just made. | |
| |
||
|
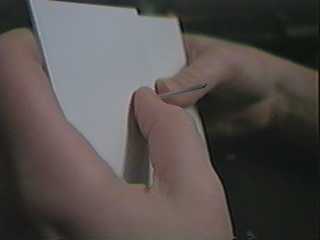
Grab the designated Rivet, short or long. (Long is the default size if not specified).
Push this rivet through the Top piece of plastic. Notice that the image to the right is pushing the rivet in wrong. You want the THICK end to go into the hole. The thick end is the end with the little ball on it. this ball will cause the stem to flair out and hold the rivet in place. |
|
| |
||
|
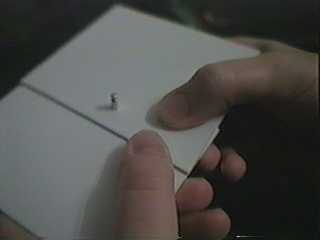
This is the correct way to push in the rivet. | |
| |
||
|
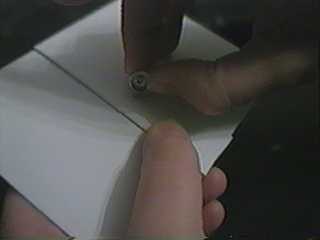
Push the rivet all the way in. Now grab the LOWER piece of plastic and push that UP on to the rivet through its hole also. | |
| |
||
|
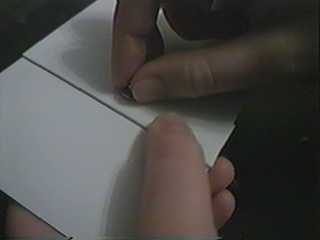
See!!! this is the upside-down shot... see how the stem extends out of the plastic! | |
| |
||
|
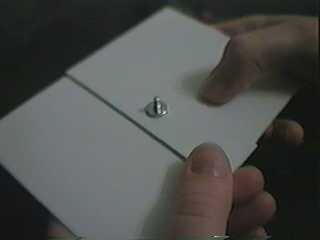
Now that you have the rivet pushed through... Lets place the WASHER on the stem! The washer keeps the Rivet from Flaring INTO the plastic. IF the rivet FLAIRS into the plastic... You will not get a strong bond.
The WASHER is CRUCIAL!!!! |
|
| |
||
|
Placement of the washer!!!! | |
| |
||
|
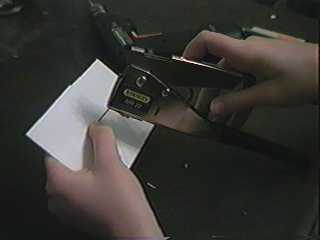
Now once the washer is in place... flip the plastic over ... RIGHT-SIDE-UP.... hold the washer in place as you grab the RIVET GUN and push the gun on to the rivets "Extended Nail-like Thing".
Notice that there are holes on the bottom of the rivet gun... It goes into the first hole!!!! |
|
| |
||
|
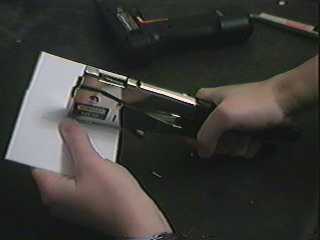
Once the gun is on the nail... CLAMP down like they were scissors... It may take a few CLAMPS to snap the nail off the RIVET.
The nail should break off the rivet as pressure is applied... It might take about 4 good 'clamps' to 'snap' the nail off the rivet. Make sure the WASHER is in place. That is the key to Snapping the Nail off. |
|
| |
||
|
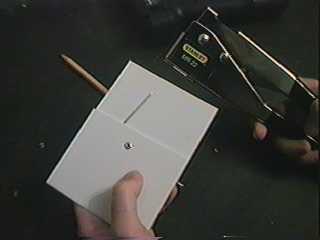
Here is the nail "snapped" off the rivet...You have now completed a rivet! Take a couple of practice tries before you attempt it with the real Costume. You don't want to mess up on the real thing, do you?
Enjoy RIVETING!!!!! |
|
| |
||
|
Buttoning Basics Back to DH2 |
||
©2010 Studio Creations - All Rights Reserved