01
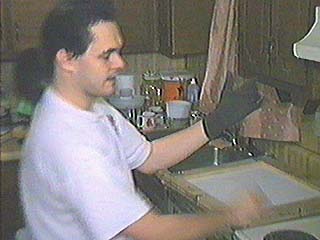
Put On Gloves!
Gloves will help protect your hands from the extreme temperatures that you deal with during the vacuum forming process.
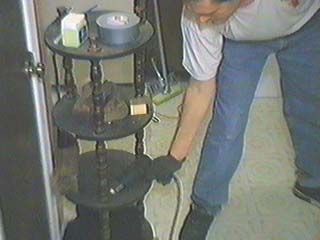
02 Turn the Heat Gun on.
(optional) A heatgun can be used to help even out the heating of the plastic if your holding frame is bigger than your oven and not all of your plastic is inside the oven.
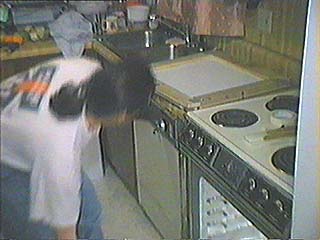
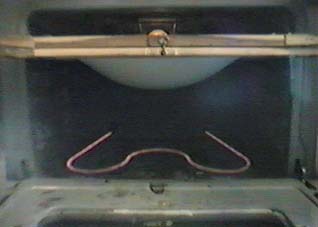
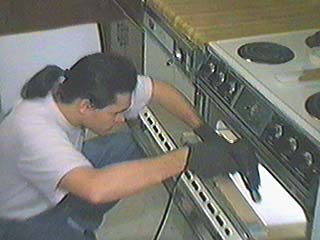
03 Open the Kitchen Oven
Prepare the heat source for Frame/Plastic insertion.
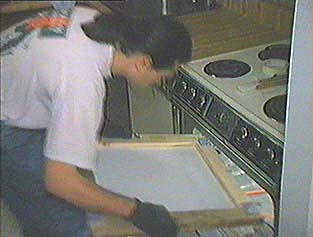
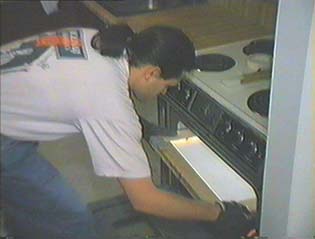
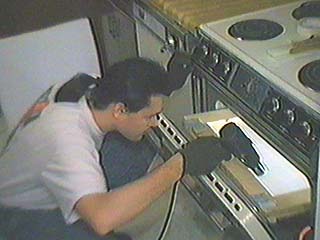
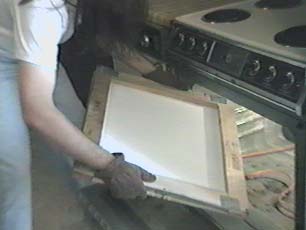
04 Slide the two frames/plastic into the oven
Be careful, the heat source is hot and you can burn yourself.

05 Make sure that the frames are secure.
You do not want the frame to fall while the plastic is heating up. A holding rack of some sort may be necessary. I screwed bolts into the sides of my frames, and those bolts are adjusted to sit on the holding brackets that were built into the side of my oven.
06 Close the Kitchen Oven door.
Note: If the door will not close all the way, use the heat gun to "heat" the
unheated area during the heating process.

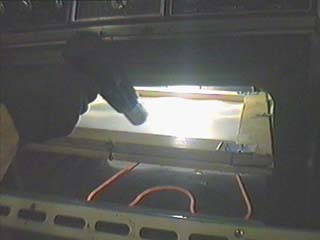
07 Watch the plastic
As the plastic starts to warm up, it will begin to warp into a wavy shape. Do not be alarmed. This is normal. The plastic is just becoming soft in different areas as it heats up, and this causes warping. The plastic will soon go back to a flat surface when the plastic has even tempterature. When the plastic does go 'flat', then it is evenly heated, and you can remove the frame/plastic from the oven.
08 "THE SAG", when using a shopvac
Once the plastic starts to "sag" in the middle by about 2 inches, prepare to get the plastic out. Open the door and start pulling the frame out of the oven. If you use a Professional vacuum pump for your vacuum pressure this droop would not be needed.
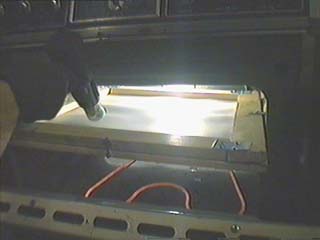
09 Be careful of how much you heat the plastic
Once the sagging reaches a certain point, it will sag faster. It is
imperative that you do not let the plastic touch the hot heating elements or boil/burn the plastic.
Be patient, it will take a couple of attempts to learn the properties of the plastic you are heating.
10 Try to heat the plastic as evenly as possible.
Notice how the back side of the plastic heated faster than the front side. The hotter area sags more.
11 Trial and Error are the key.
Do not get too upset if the first 3-5 pulls are bad.
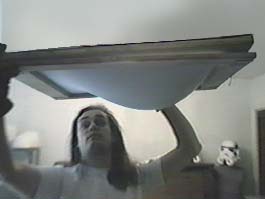
12 Remove the plastic from the oven
Once the plastic is heated to the point you want it at... remove it from the heat source.
NEXT: VACUUMING THE HEATED PLASTIC