continue to page 6 -> >
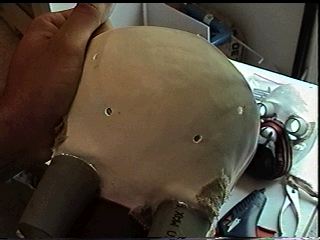 With the front of the mask 80% complete I decided to go and finish the rest of the head. Here I drilled four 3/16th inch diameter holes for air venting through the plastic. This head will get hot in the summer months.
 I placed the mask over a head cast that I had laying around. You might need to do this on a real head if a head cast is not present. Then again you might figure out a way to do it without a head present. Be creative.
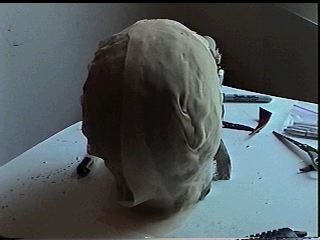
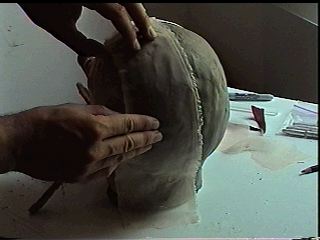 I needed a breathable cloth area made up to act as a base for my head. I just placed pre cut strip of cloth onto my head cast and glued them together. You might option to sew the cloth together... HOT Glue doesn't hold up too long but it did the trick for me for the few times I wore the Tusken costume.
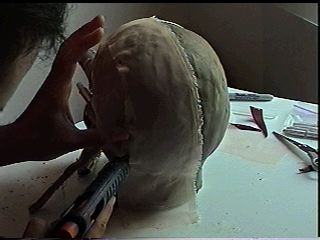 Here' I am hot gluing stuff together.
 the other side of the back of the head covered in cloth. Notice how I over lapped the cloth. This extra cloth will be used when it comes time to attach the Velcro zipper to the back of the head.
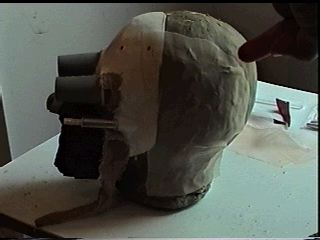
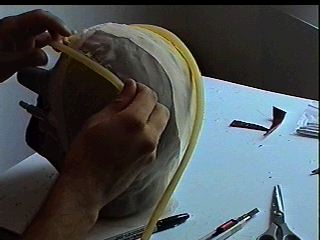 To ensure that I had air circulation inside the head piece I rigged up a bellow system that pushed air through a rubber hose. Here I am attaching the hose to the breathable cloth.
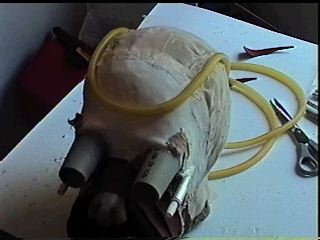 Here's a shot of the finished air tube placement. I actually could have used the air holes closer to the eye sockets of the wearer. As this design goes, only our foreheads go any air. Our cheeks and eyes were sweating like crazy. Air Tubing FAIL!
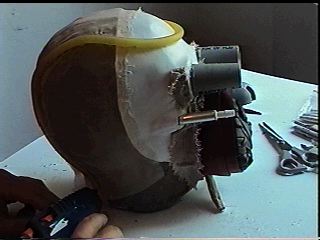 A side shot of the air tubing that failed us.
(Note: the bellow system did not work, but cutting a hole and attaching a computer fan to the top of the head, thereby sucking the hot air OUT OF THE HEAD, has worked much better.)
> > CONTINUE TO PAGE 6