Pouring the Latex Mask
 Now that we have the plaster halves ready we'll fill them with liquid latex. First time you crack open a bottle of latex you'll notice that liquid latex has a good bit of alcohol mixed in it. This alcohol is not for drinking, it's the bad kind of alcohol, and don't go huffing this stuff either. Last thing I need is some mother or wife emailing me telling me their idiot loved-one is in the hospital because they had they had their stupid head inside a plaster mold sniffing latex fumes. Make sure you work with liquid latex in a well ventilated area, will you? For my sake, atleast? Thanks.
 We need to put a coat of release agent on top of the plaster cast to help keep the latex from sticking to the plaster. I use a household cooking spray as the release agent. Other people spray Acrylic Clear Coat Paint over the plaster.
 Lets put the two plaster halves together and keep them tightly connected with a belt or bungie cords.
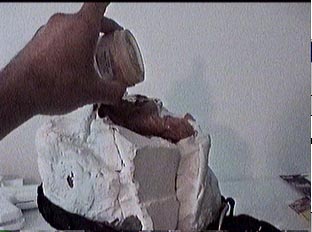
  Pour The liquid latex into the plaster cast. Use a whole bottle. If there is any excess left inside the cast after the swishing you just pour that back into the bottle. It's better to use too much than too little.
  Roll the latex around inside the plaster cast so you coat the entire inside of the plaster cast. Once all the walls are coated pour any excess back into the bottle like mentioned above.
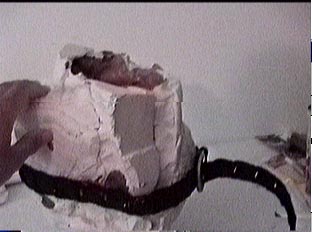 Let the latex dry 2 hours. Position the mold so that the opening is pointed up. Any extra latex that you did not pour out of the mold will pool up at the top of the final masks head, you might want to watch this and soak up the extra if it gets to be too much.
 Repeat this procedure three times, coating all the walls of the mold with a layer of latex each time. Allowing atleast two hours between coats of latex.
 Once you the final coat of latex is dry (it'll probably take 24-48 hours for the last coat to dry) you can prepare to pull the latex mask out of the mold. Take some baby powder or some female facial powder and sprinkle some on the inside of the latex walls. You will want to makes sure the powder coats all the walls so that when you pull the latex mask out of the plaster mold, the latex does not stick to itself.
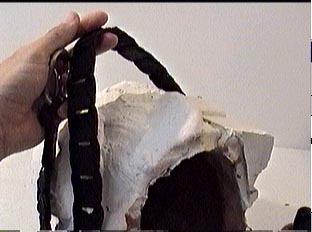
Release the plaster casts binding cords.
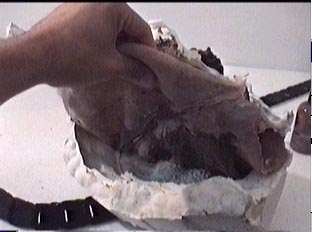
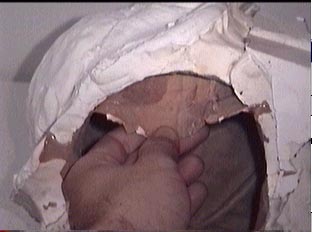 Slowly and carefully peel the latex away from the plaster walls. Start pulling the mask off the back wall. If you run into any problems with the mask, it's best to find out those problems on the back half rather than the front half. Watch the mask for thin spots in the latex as you pull it off the walls.
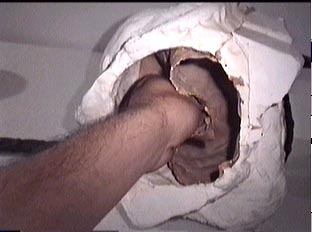
Careful!

Take the back half of the plaster off when you have fully released the latex from the plaster.
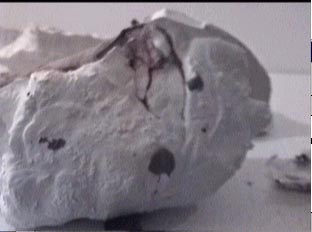
Notice that the liquid latex seeped into cracks that formed between the front and back halves. You will need ot trim up these rogue bits with a small pair of scissors later.
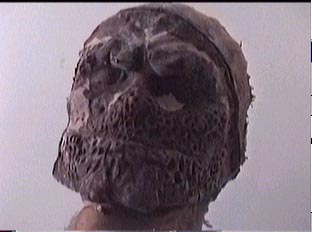
Carefully lift the front of the mask off of the plaster mold. Hopefully there was no problem with the latex mask and it releases easily off the plaster.
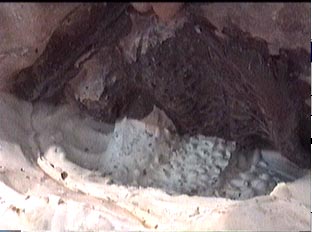
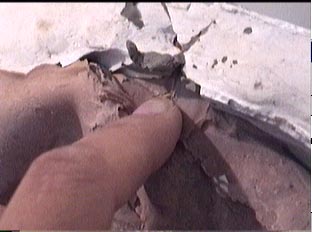
 Here are sections of the plaster cast where liquid latex started to seep out of the cracks in the plaster mold. The breaking of the mold in the plaster cast section caused these holes to form and it looks like we didn't plug them as well as we thought we did. Darn.
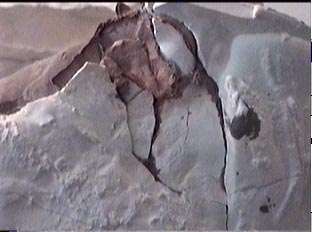
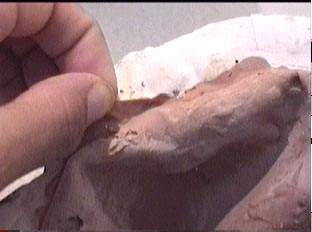
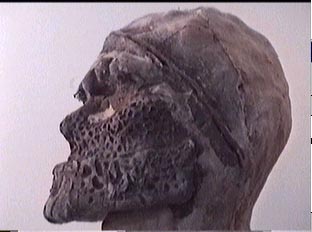
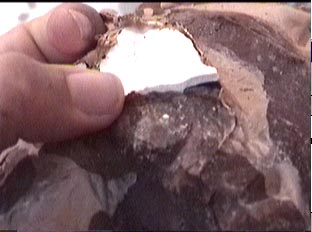 A flat spot in the latex mask caused by a hole in the plaster cast that was patched with clay. We are lucky in the fact that the flat spot is in the temple region of the mask and we can paint this to look like Evil Ash's skull showing through. If the damaged area was near the face the mold would have been useless.
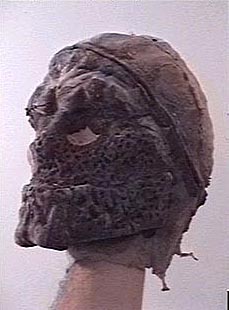
|
|
The Monstermakers.com Mask Making Handbook is one of the best references for doing latex masks. Worth every penny. BUY IT NOW!!!! |
Next: Detailing the Latex Mask