Armor Assembly
First and foremost, let us discuss Velcro Terminology.
Know that:
LOOP velcro refers to the soft, cloth fiber velcro,
HOOK velcro refers to the rough, plastic velcro.
Sticky-back velcro refers to velcro with an adhesive backing,
Sew-on velcro refers to velcro with no adhesive backing that you need to sew down to secure it to clothing or elastic straps.
TIP: You will want to place the softer LOOP velcro on any surface (or item) that will face your body as you wear the costume. Doing this can protect your clothes from getting caught on the HOOK velcro, which would rough up the fibers in your clothes. This is just a tip, not a mandate.
Elastic Straps
You'll want to sew up your elastic straps for the elbows, biceps, shoulder pads, knee caps and sides of the chest.
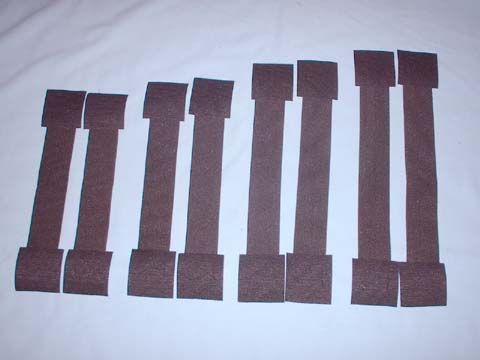 Each set of straps will be a different length I recommend using a cloth tape measure to accurately measure the length needed. We sewed the HOOK velcro to all the elastic bands, just like we talked about above, so the HOOK material will not snag the cloth undersuit.
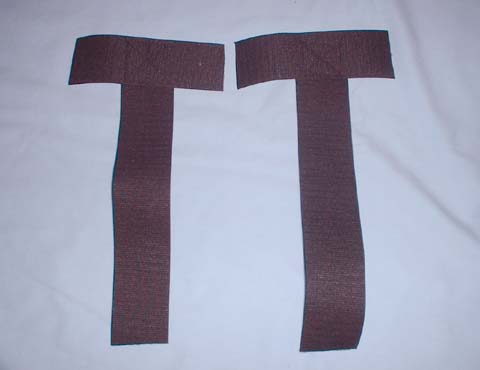 While we are on the subject of sewing, you might want to sew up a velcro "T-strap" system for the shoulder and chest collar connection points. This T-strap consists of two strips of sew-on HOOK velcro sewn together to form the shape of a "T". This T- will connect the collar area of the chest and back armor while also holding the shoulder bell and the bicep armor in place. a very nice and useful system.
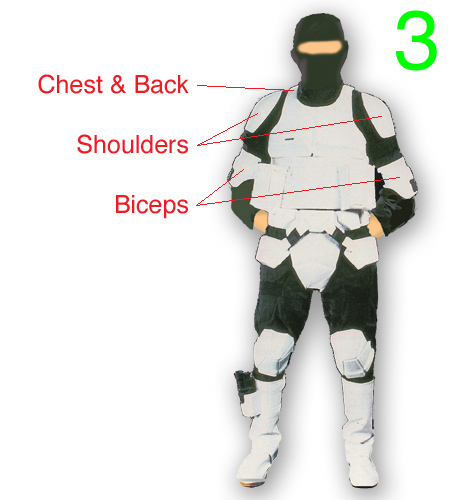
Chest and Back
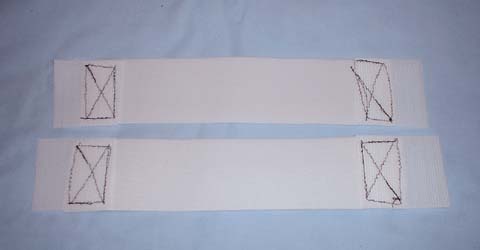
 The sides of the chest and back are connected via a White 1.5 inch wide elastic band. The length of the elastic bands will be determined by the individual wearers chest size. You should pre-measure before cutting the elastic.
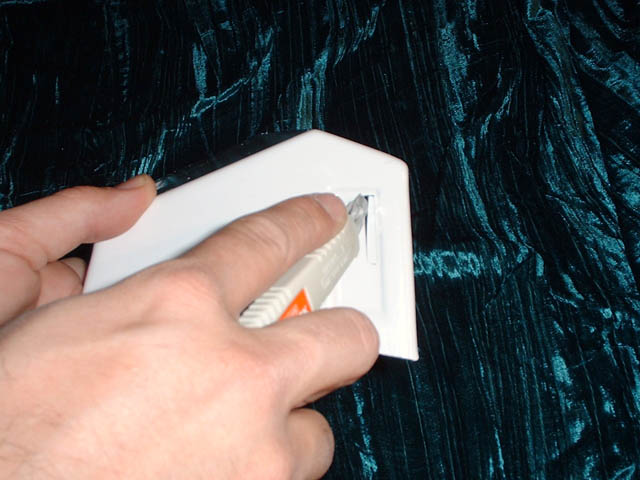
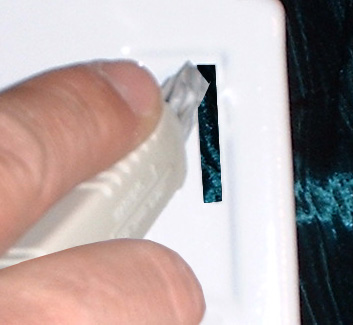 Using a razor blade, you need to cut the holes out. Keep the holes at least 3/4 of an inch away from the edge of the armor. You do have the option not to cut the area out, but It does not look as good if you do not.
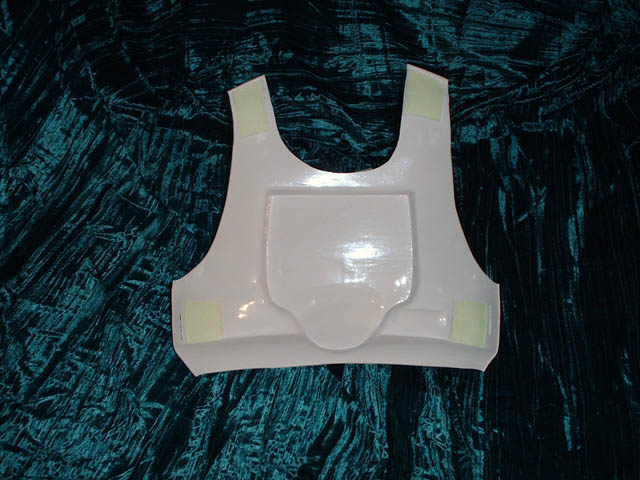
 Attach sticky velcro at the shoulder joints and just under the arm area of the back and chest. You can adjust the tension of the elastic straps by moving the sticky velcro closer/farther from the center of the armor .
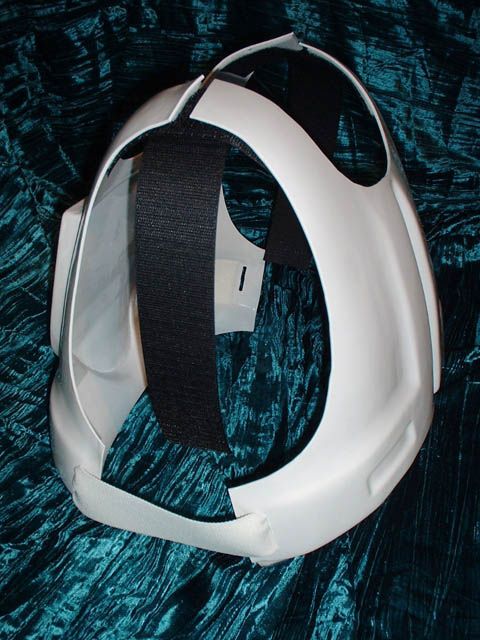 Connect the chest and back at the shoulder area via a T-strap harness system. This system will connect he chest and back together and also the shoulder pads and the bicep armor. This system is excellent for keeping everything together. The straps are 2 inches wide for maximium velcro gripping.
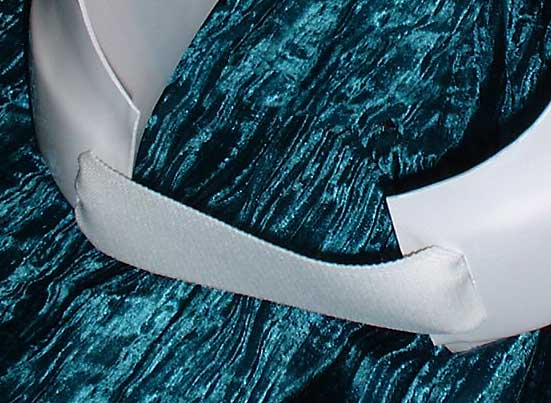
An illustration of the T-strap usability
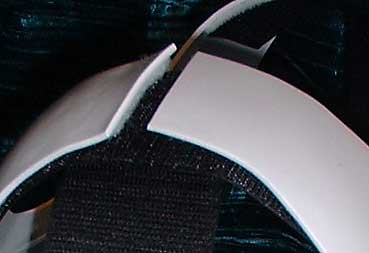 The chest/back shoulders have a bridge area that needs to be riveted, taped or bolted across the gap where the armors meet.
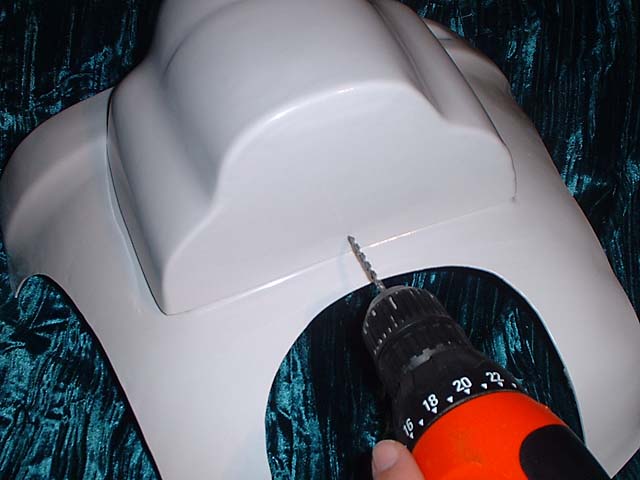
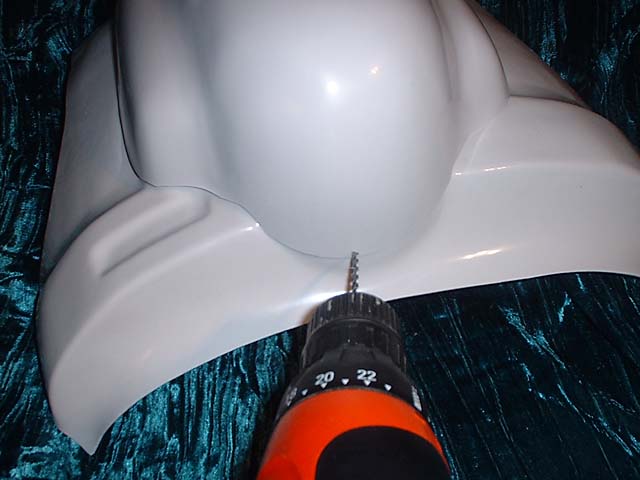 You'll want to drill and rivet (or bolt) the hump to the riser plate that you put on the back mold of your armor. I used the smaller 1/8 inch diameter rivets for my armor assembly.
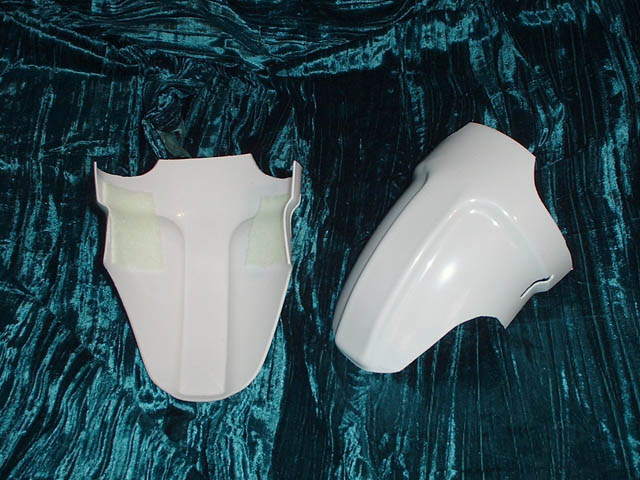
Shoulders
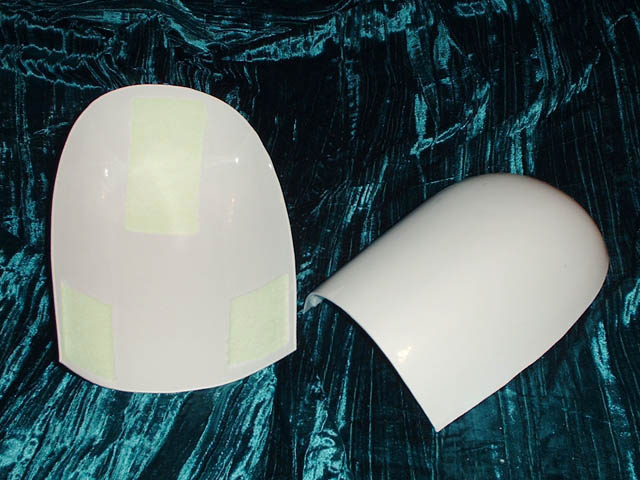 You need to place a 2x4 inch wide strip of sticky-back velcro on the inside top area of each shoulder pad.
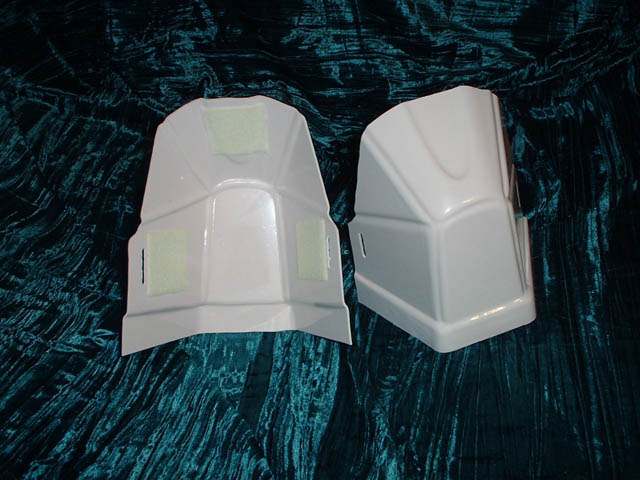
Place two 2x2 pieces of Sticky-back velcro on the wall edges o the armor. Pre-measured elastic straps with sewn-on velcro tabs will be placed on these tabs.
This shows how the T-strap connects to the Shoulder and the bicep at the same time.
Here's an illustration of the elastic strap placement.
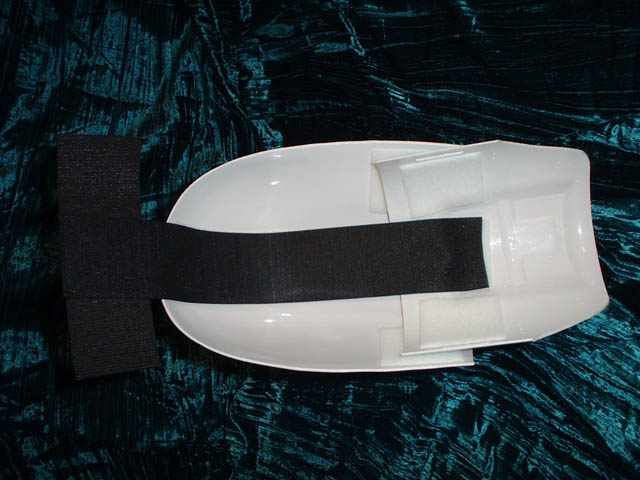
Biceps
Again Using a razor blade, you need to cut areas out of in the plastic for the elastic bands to go through.
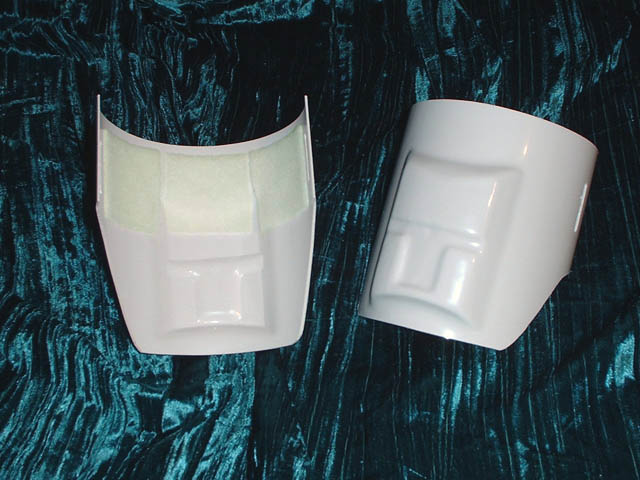 Place one 2x2 and two 2x2 strips of sticky-back LOOP velcro on the inside of the armor next to the holes. The middle velcro will allow the t-strap harness to grip the upper 2x2 piece of velcro and the armband elastic to grip the 2x4 section of velcro.
Elastic strap placement.
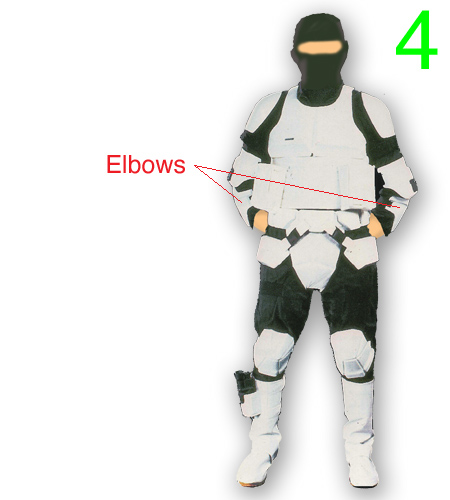
Elbows
Using a razor blade, you need to cut areas out of in the plastic for the elastic bands to go through. Keep the holes at least 3/4 of an inch away from the edge of the armor.
 Place one 2X4 strip of sticky back velcro on the insides of the elbows, directly in between the strap holes.
Thread the elastic bands though the holes and connect the velcro to velcro areas. Adjust for proper fit, if need be.
An illustration of the elastic strap placement
Knee Pads
Using a razor blade, you need to cut areas out of in the plastic for the elastic bands to go through. Keep the holes at least 3/4 of an inch away from the edge of the armor.
 Place one 2X4 strip of sticky-back LOOP velcro on the insides of the kneepads, near each strap holes, then place an additional 2x2 piece of LOOP velcro in the center of the upper part of the kneepad.
Thread the elastic bands though the holes and connect the velcro to velcro areas. Adjust for proper fit, if need be.
 The Center Velcro will connect to a strip of HOOK velcro that needs to be sewn onto the black Jump suit. This will help keep the knee caps from falling down as you walk around.
Utility Belt
Measure out your 2 inch wide belt to fit your waist. Add 6 inches to the final length for connecting the 2 inch wide quick clip.
 Connect the quick clip either buy riveting or sewing one end on.
 Place the belt on the user and slide the quick clip to the back. I suggest off setting the quick clip to one side by 4 inches so that it will be hidden by the thermal detonator , yet still be covered by the thermal detonator ribbed tube.
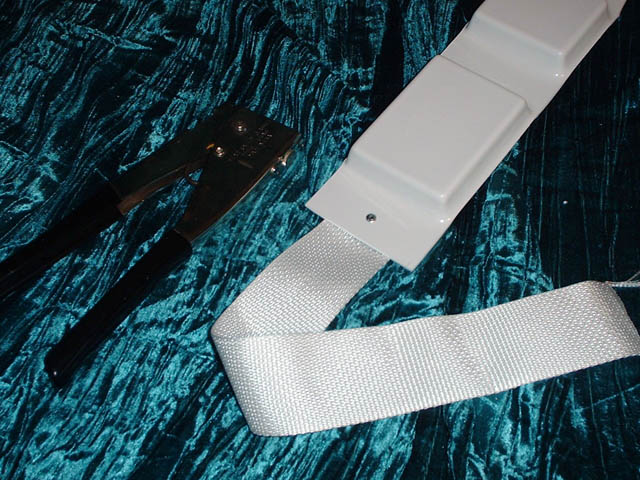
Mark the center position of where the Utility Belt Buckle should fit on the user.
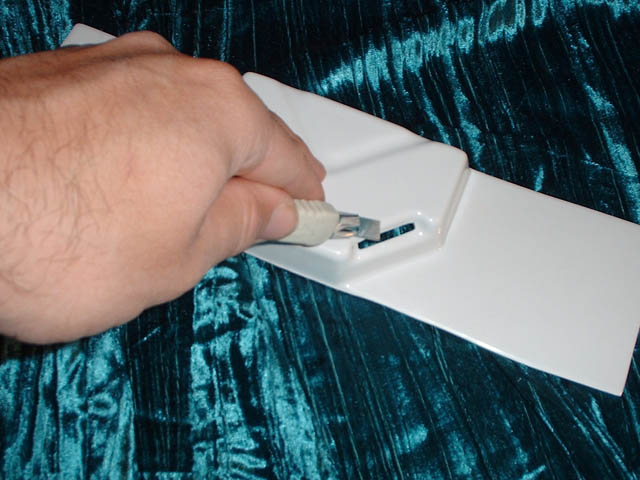 Now cut out the strapping slits in the Belt buckle plastic first. Your thigh boxes will connect to this area.
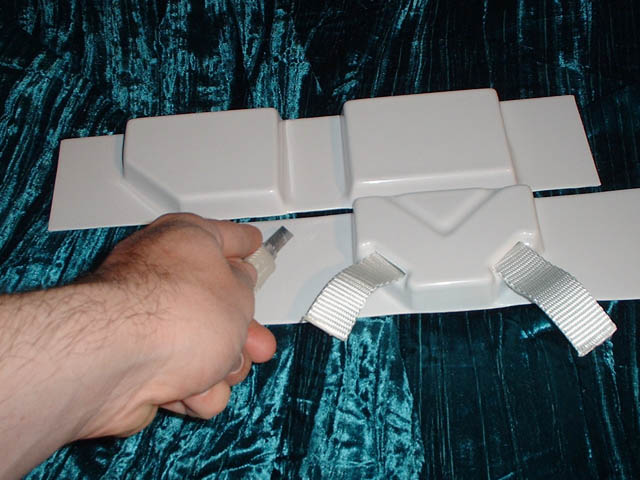 If need be, cut the ends of the belt buckle piece so that they are evenly spaced to the other belt boxes.
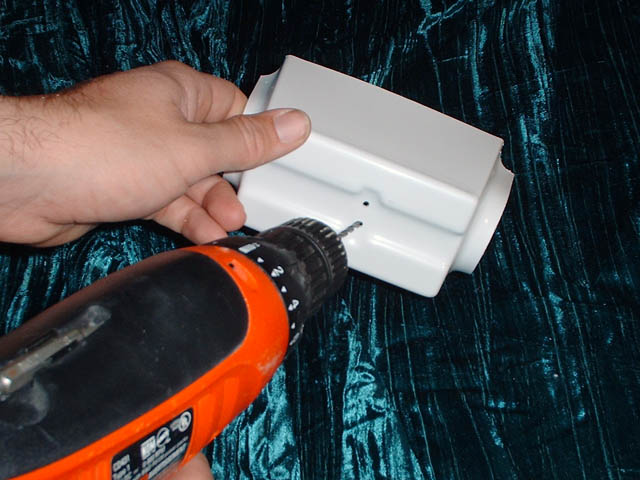
 Place the belt buckle armor on top of the joining belt box armor and drill the appropriate sized holes through the overlapping plastic.
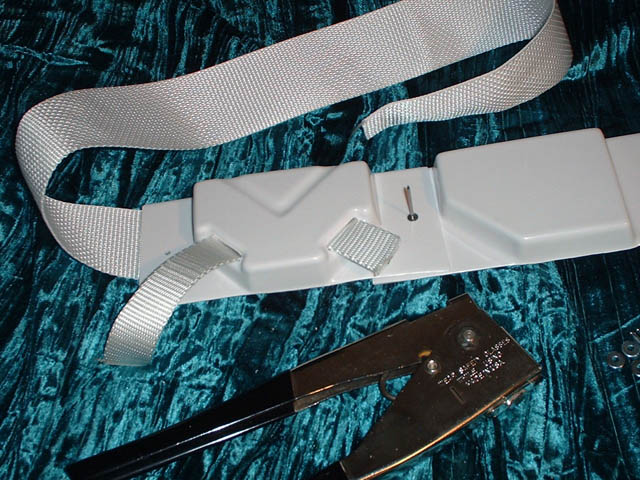
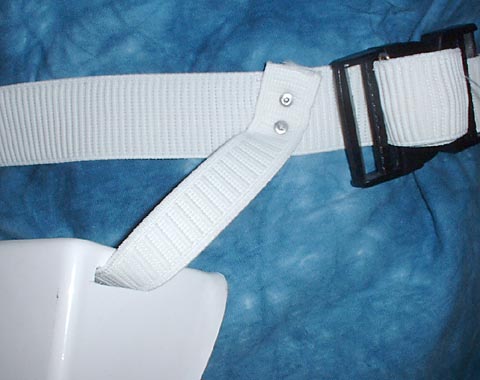
Using 1/8th inch sized rivets, rivet the armor pieces and the cloth belt together.
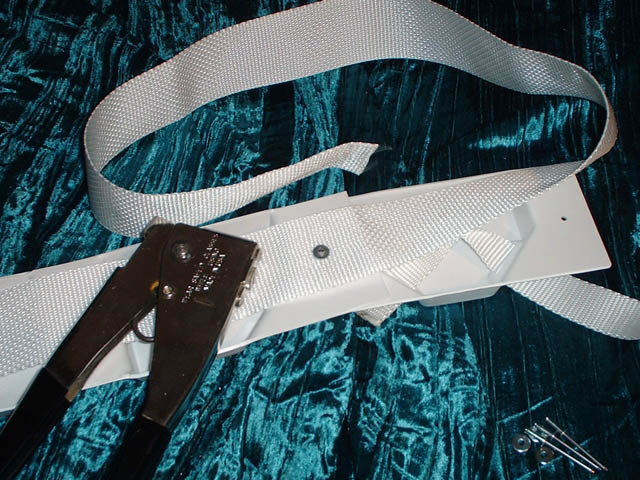
Back view of the riveted buckle/belt
Now drill/rivet the ends of the plastic utility boxes to the cloth belt. I suggest using two rivets per side of the belt, as there will be alot of tension on this area, but using ONE RIVET per side is "screen-accurate".
Now add the thigh boxes. :-)
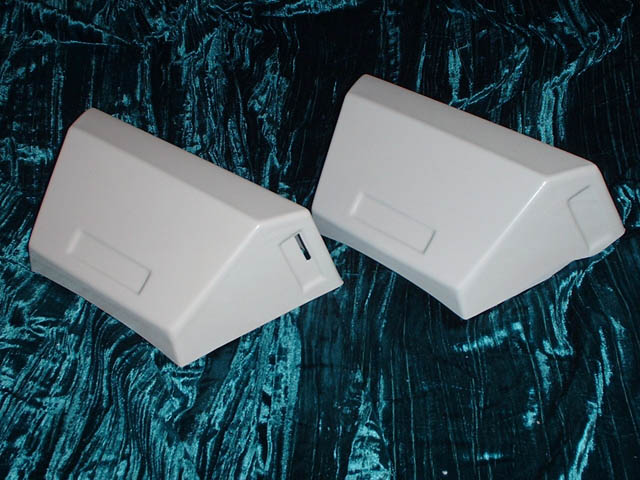
Thigh Boxes
Cut strap holes into the thigh boxes, in the indented areas.
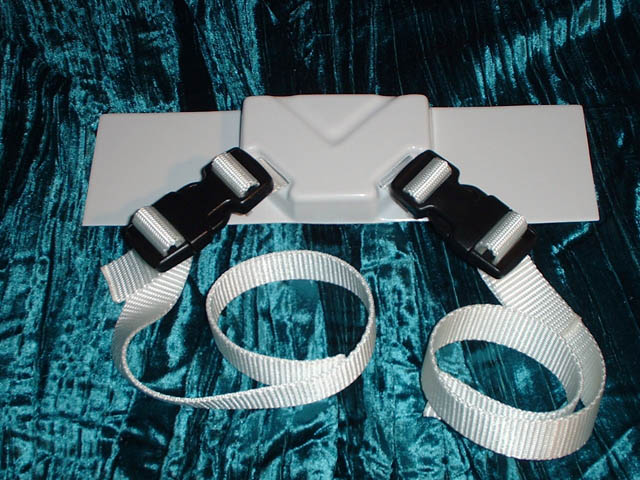 Thread a 1.5 inch wide piece of webbing through the belt buckle and attach a 1.5 inch quick clip to each end of the webbing.
 Thread two very long 1.5 inch wide strips of webbing through the cut holes in the thigh boxes and attach the loose end of the webbing to the quick clip attached to the belt buckle.
 You will need to attach the loose end of the 1.5 inch web belts to the 2 inch wide web belt, right where the thermal detonator will go, in the back of the 2 inch web belt. You can sew or rivet the smaller webbing to the wider belt.
The ILM costume had two more quick clips in back of the costume on the 1.5 inch wide web belts, just like in the front. This tutorial does not show the assembly of those two quick clips in the back. Sorry.
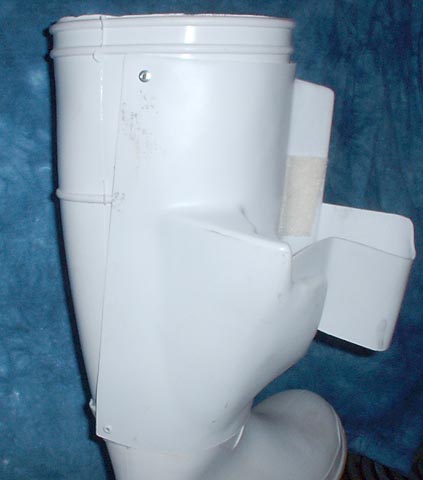
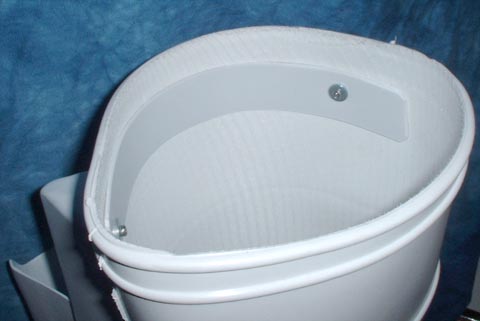
Thermal Detonator
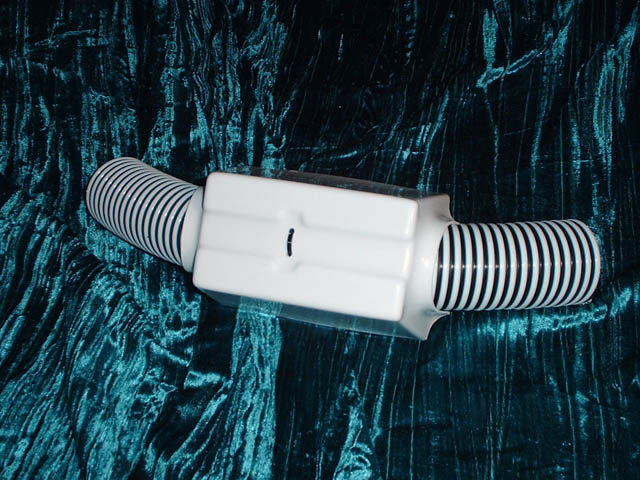
 For the thermal detonator you will need to drill two holes in the top of the thermal detonator box, inside the recessed area. . These holes will allow you to thread a black ZIP-TIE through the plastic and around the ribbed thermal detonator pipe, therefore securing the pipe to the box.
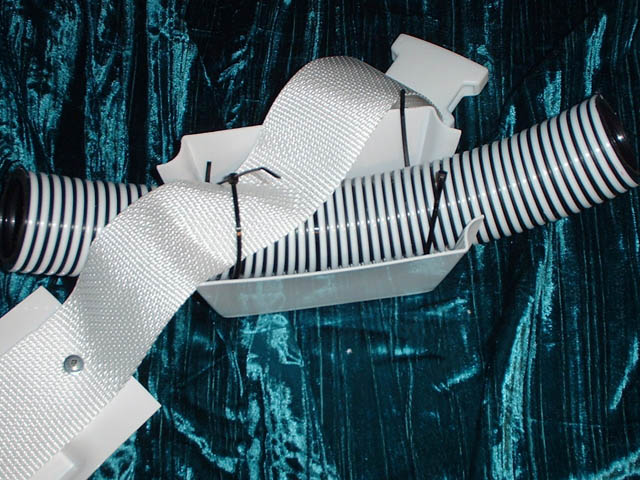
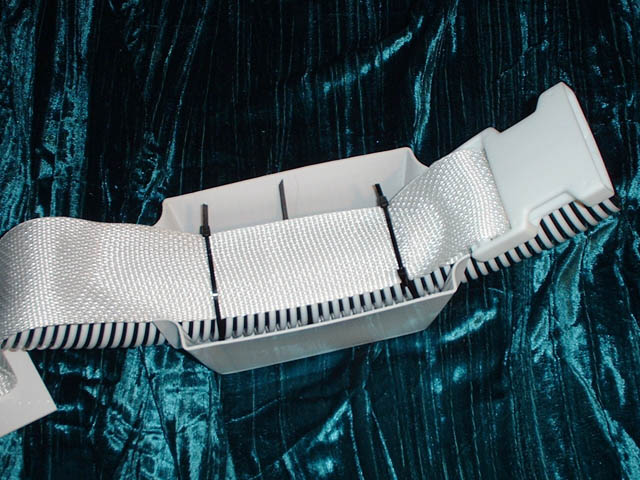
 The ZIP-TIE strung through the holes and attached to the pipe. Notice that the boxy ZIP-TIE "gripping mechanism" should be on the inside of the thermal detonator, not the outside.
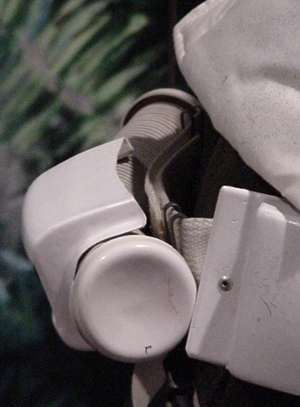
Attach the thermal detonator to the belt via military "Alice" clips, Zip-Ties, or any cool method you can think of. Currently stainless steel "Money Belt" clips have been identified by the Biker Scout community as some of the more accurate looking clasps to use for a more accurate scout costume.
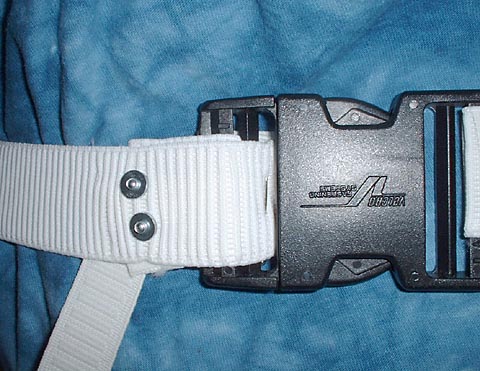
Notice in this reference picture that ILM connected the 2 inch wide webbelt together with "Veclro".
Here are a couple images showing a way of connecting
the Thermal Detonator to the 2 inch wide web belt via ZIP-TIEs.
Glue the two end caps onto the Ribbed Pipe, and you are done.
IF you have any suggestions for a better way to accurately attach the Thermal Det to the webbelt, and still get the web belt off the costume, please email us that suggestion. We would love to talk to other fans about possible ways of assembling the Scout belt more accurately.
Boot Holster
 Usually the boot holster is connected via four rivets, one on each corner of the holster.
 On the inside of the boot I place a strip of plastic along the top ridge, This keeps the boot lip pressed firmly against the holster as the user wears the boot.
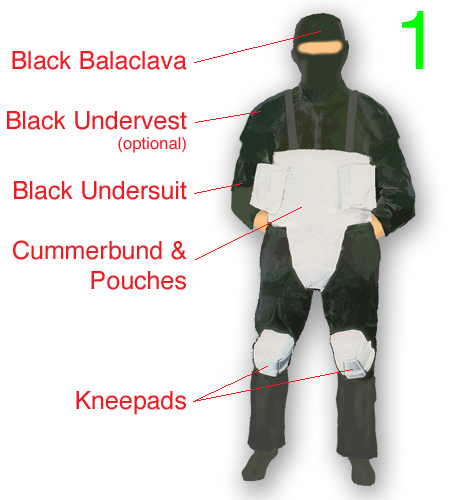
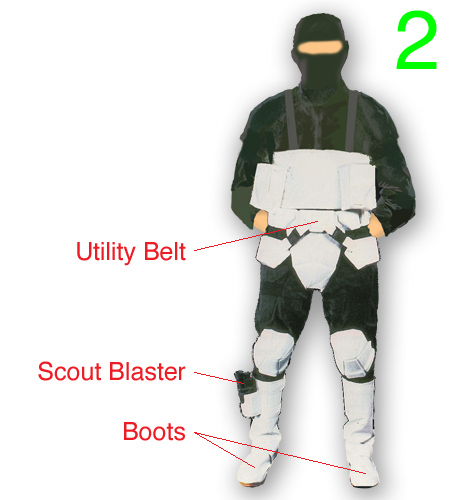
Putting the Costume On
The images below show the proper steps in putting on the Scout Trooper costume. Some parts just have to be donned before other parts, it's a simple factor of ergonomics.
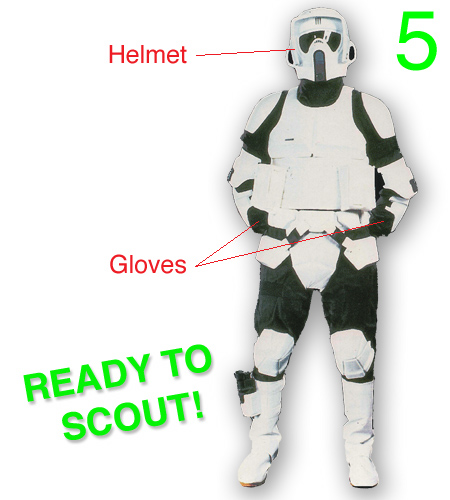
-end assembly instructions
Did we forget anything? If so please Contact Us and tell us. Thanks.
©2010 Studio Creations - All Rights Reserved