TK 837's Handmade Stormtrooper
The short version of how I did my Stormtrooper helmet please edit as you see fit. I tend to be longwinded:
I always wanted to own a set and thought that the price was prohibitive for my budget.. I found the tutorial on "building your own Stormtrooper armor" by Studiocreations and thought, YEA! I can do this. So I found a supplier for highwater clay ($20 for 50lbs) and so it began. I took numerous photo's off the web (never seen a ST helmet in real life). I used the guide and some fancy guessing and came up with a size close to what I think I needed. I've got a big noggin and needed a large helmet, LOL! I used a "wig" styrofoam head and the measurements of my own head to add to the ones given to get started. Slowly the sculpt progressed to a point I was ready to cast in plaster.
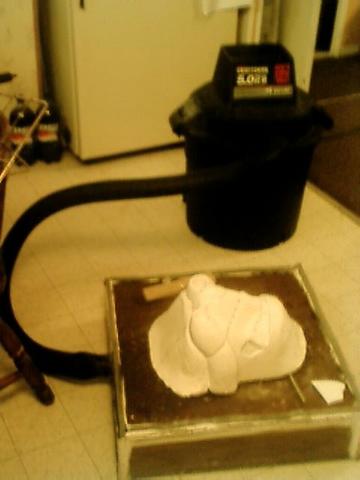
At this point I cut the sculpt down and ended up with the mold seen in the pic's after a little working to make sure it would not "lock" down. I used good old plaster of paris to make my mold. After sanding, sanding and more sanding I got to the point I was ready to do a pull.
I had a shop vac (craftsman 5hp) given to me by my brother-in-law who is also a "garbage truck" driver. He found it on one of his run's and it worked. I built my table from scrap particle board used for book shelf's that was given to me by a friend who was throwing it away. I used silicone to make the box air tight and added the peg board for the top (already had a piece in my garage) and the same type board minus holes for the bottom. Hooked up the vac by drilling a hole in the side of the box and sealed it with silicone and a little duct tape. The box is 24" x 24" and I used my oven for heating after I built my frames and used the heat gun wear the frame was too large and stuck out of the oven.
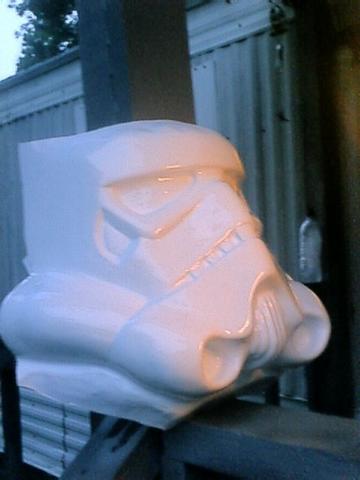
Did about ohh....10 pulls that were messed up and finally got them figured out (pay close attention to the tutorial and follow it, I didn't here and screwed up $30 of plastic).
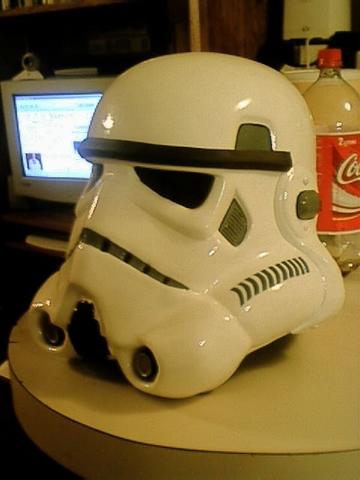
(Assembly) Used the rivet and superglue (aka CA glue) to put the front and back together and CA glue to attach the dome (again follow the tutorial and use masking tape to get the alignment right first before drilled or gluing). I used screws in the "ears" with washers and bolts. I also used "bondo" to close the seam where the back and dome parts meet to hide the "edge". After all was trimmed and put together I used $1 can spray paint and Rust-o-leum brand clear coat and added 4 coats of each. I handed painted my details with custom Testor model enamel brush on paints (custom mixed to match the colors of the original "screen" helmet). I added two facet aerators I got for 1$ and wrapped in black duct-tape and glued them on. The bottom trim is door seal molding from Wal-mart $3. The lenses were cut custom from a smoke tinted welding face shield and high temp hot glued in place. I cut out the frown and added black screen hot glued in place (use a cold wet rag on the outside of the helmet when using the hot glue gun or it will melt the helmet...Silicone is better just takes longer to cure). The brow trim is made from a "car door garage" seal found in walmart and cut down with an exacto using a metal straight edge and glued on.
Hope you guys like it. It's my first full size sculpt and first time vac-forming. Thanks Studiocreations for all the good info and helping me realize this dream! Now on to the armor!
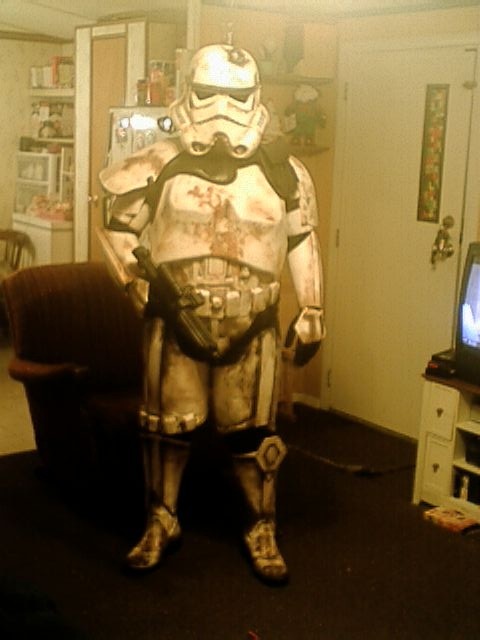
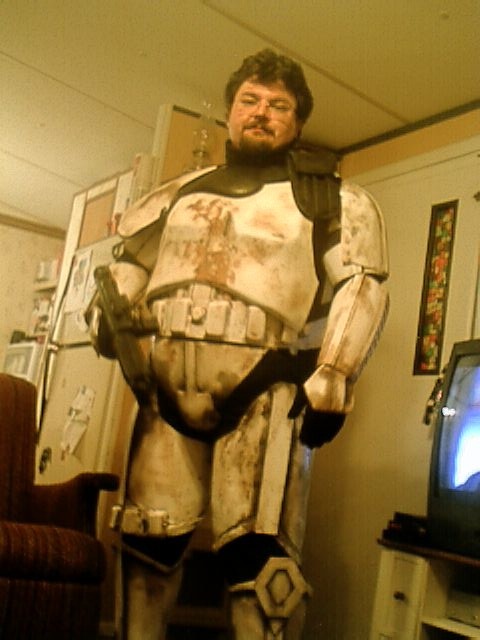
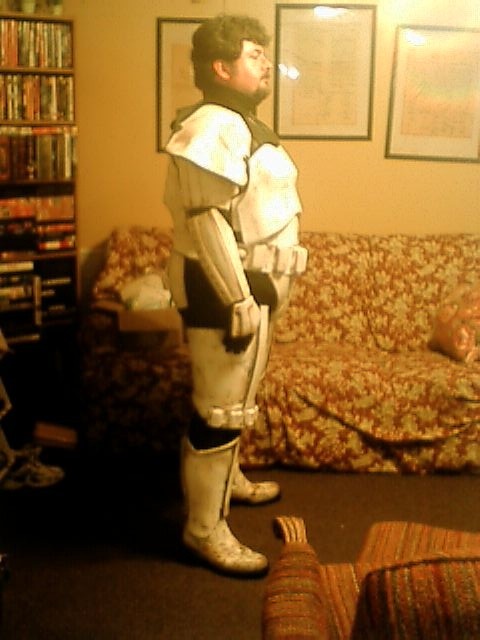
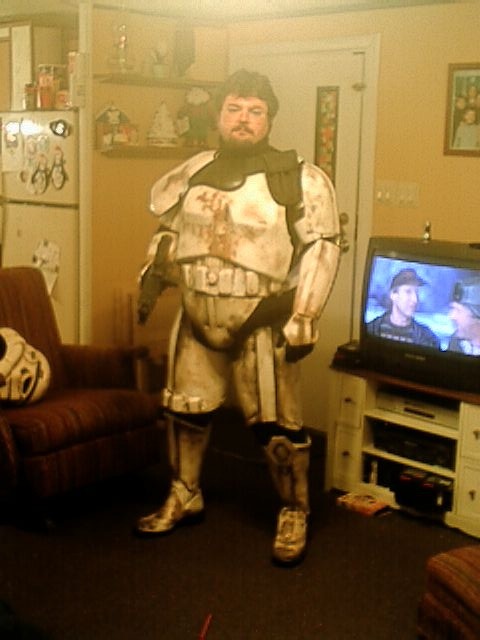
(The Body Armor - sent in after the helmet description) "I set up a snap system for the armor straps. I only used the industrial strength velcro (white) on the back side of my calf armor. I found boots at Sears on sale for $17 and painted them white (I will probably strip them and have them dyed in the near future). I weathered the armor using "Folk-art" brand acrylic paints and a combination of dry brush, rubbing with paper towels to get my weathering effect.
All together it took 13 months for start to finish.
For my under suit I used the Walmart brand "underarmor" top and thin cotton stretch black pant's for the bottoms. My gloves are black mechanics gloves from Wally world again. My holster is hand made using the pattern I found here on the board (sorry...didn't get a pic of it on). My blaster was a $5 ebay special early 90's model Batman blaster that I modified with bowjunkies cool part's. I have in the helmet two cpu fans and a battery pack (flea market special $5 for all). I have a Radioshack voice amp but will get a hyperdyne or rom/fx board ASAP. Total cost was ~$300 and several hundred man hours of blood, sweat and tears.
Seriously, I've got some cool scars from my exacto, carpet knives and sharp edged plastic. Made lot's of mistakes but had a great time doing this project (my first time with a full size sclupt and vac-ing of anything)
Next project up will be a PVC Lewis 21 and my backpack. I'll keep you posted. BTW I thinking "TK B.I.G" as a nickname!!!!
Big Thanks again! Stacey R.