|
The Thighs
|
|
We will begin discussing the way to connect Stormtrooper Armor together using the "Rivets and Buttons" method. Keep in mind that this method is totally different than the velcro methods used for the "ready to asemble" store bought stormtrooper kits.
These "rivet and button" methods date back to 1995 and they act more as an instructional tool than as definitive directions. Think of these instructions as alternative ways to connect things together if you bought a kit and are going to use the Velcro that came with the kit. Perhaps these instructions will expand your mind and help you find a slightly better way to connect your armor later on.
Okay... enough about instructional gobbdley-gook and stuff, lets start reading how to put your armor together with good old fashioned steel rivets and aluminium buttons!!!
|
|
|
|
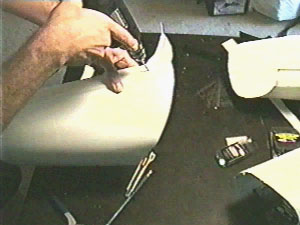
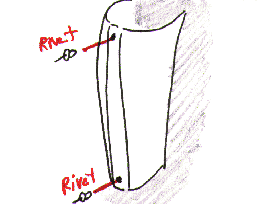
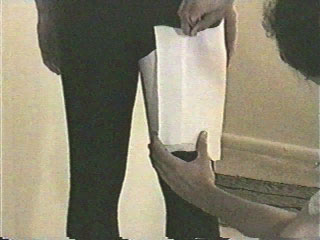
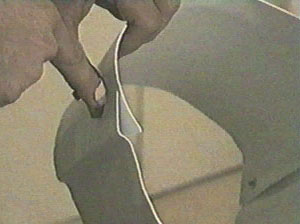
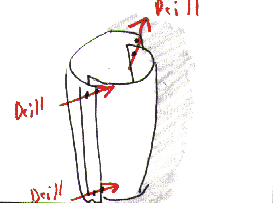
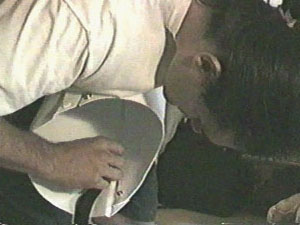
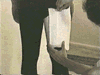
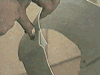
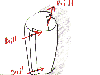
First let's assemble the thighs. What you want to do is take the 2 halves of one of the upper thighs- right or left leg; it doesn't matter which one you start with. You'll rivet the front part together, whereas on the back connecting point you'll put snap buttons on for ease of use. Line up your two halves of the thigh and, in the front, drill two holes about an inch away, or maybe half an inch away, from the top and bottom of the calves where the two pieces overlap.
|
|
|
|
You'll overlap the whole length of the molding ridge that is part of the
costume.
|
|
|
|
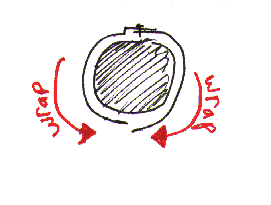
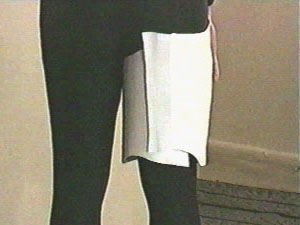
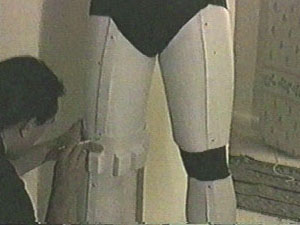
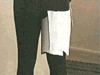
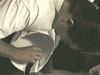
Once you've riveted that, then you need to get into your black leggings,
and wrap the thigh around. Two people will be needed for this job.
Two people will be needed for the whole assembly, really!
|
|
|
|
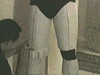
You'll wrap this upper thigh around your thigh. Try to figure out where
it feels good (i.e. where you can sit down, stuff like that).
|
|
|
|
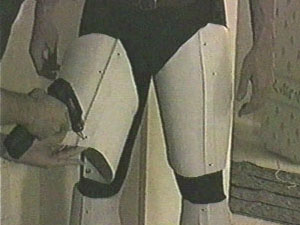
With a pencil, have the second person mark the edge where the two
pieces will connect in the back.
|
|
|
|
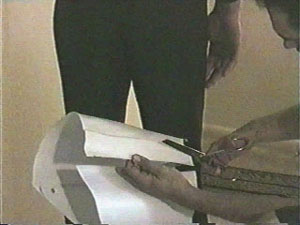
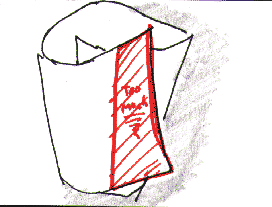
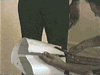
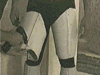
Then you'll cut off the excess from the interior, not the exterior piece.
|
|
|
|
The exterior piece does not really get adjusted unless the guy's got really thin calves, unless you totally miscalculated on the diameter of the thigh and you just got way too much.
|
|
|
|
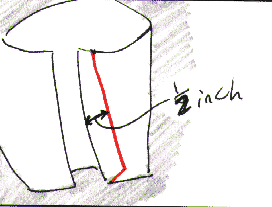
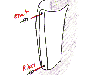
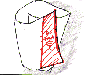
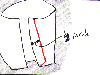
You'll mark it and cut the inside thigh about a half of an inch
away from the marked line. That's your connectivity area right there, the extra half of an inch.
|
|
|
|
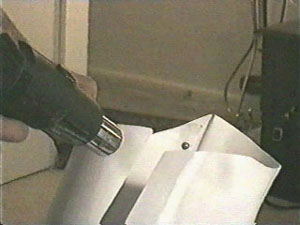
Sometimes the plastic does not line up properly when you are assembling the armor. This may not give you a good connection point for the BUTTON SNAP in the back... We'll fix that right now. |
|
|
|
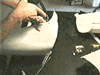
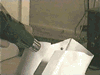
Just take your heat gun and SLOWLY heat the plastic where there is a problem.
|
|
|
|
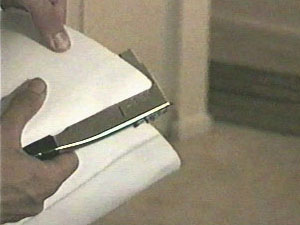
NOW just form the plastic to the shape you want using a hard flat tool of some sort. Be very careful not to burn yourself. |
|
|
|
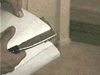
Once everything lines up okay you'll then drill holes for buttons and then snap the buttons down using either a button gun or the button/anvil kit, whatever you have available.
|
|
|
|
Now do the same thing for the other thigh.
|
|
|
|
Once the thighs are assmbled we'll want to place a 6 inch long strip of sticky back velcro vertically along the inside of the front of both thighs. This velcro will attach to the velcro on the the suspender system that we will make soon. These elastic suspenders will keep the thighs from sliding down your legs.
|
|
|
|
Now lets connect the right knee cap. Have the model suit up and then line up the bottom of the knee cap to the top of the calf (see next section for calf assembly).
|
|
|
|
mark a hole for a front riveting point, drill that hole and then rivet the front of the knee cap to the thigh.
|
|
|
|
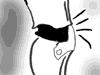
Now swing over to the sides of the knee cap and rivet. Make sure the knee cap angles out "AWAY" from the top of the calf as to insure that the knee is not damaged during normal walking. (Notice the damage that can happen if a knee cap buckles under the opposite piece of leg armor, OUCH!)
|
|
|
NEXT: LOWER CALFS
|
 |
|
|