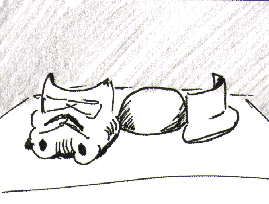
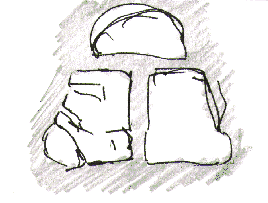
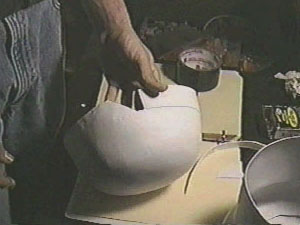
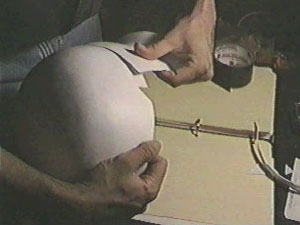
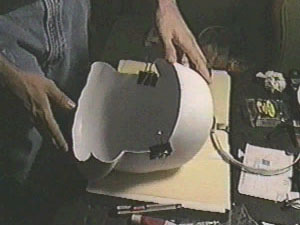
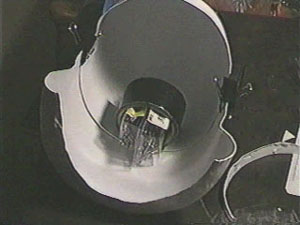
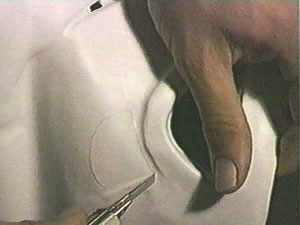
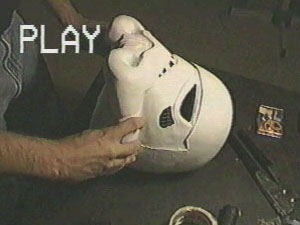
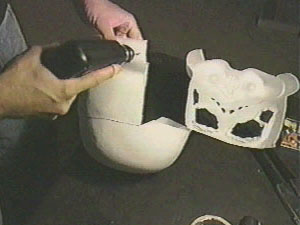
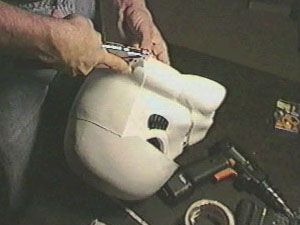
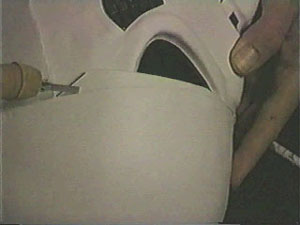
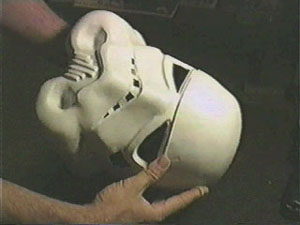
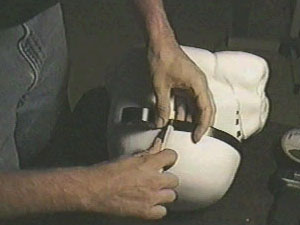
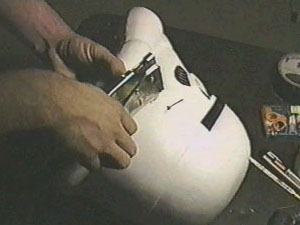
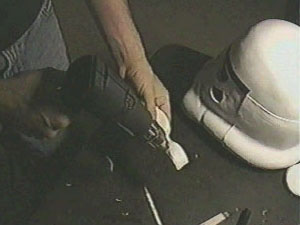
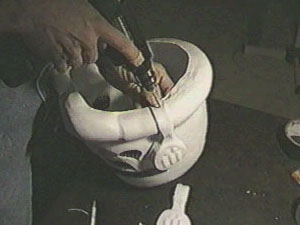
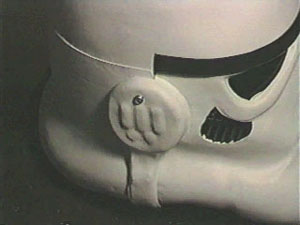
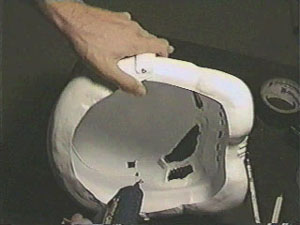
The Helmet

Now it is time to do the helmet.
 
 
Cut out the helmet pieces as perfectly as you can.


Line up the Back and Top pieces together and mark with a pencil where they connect.
 
 
Now spread MODELERS glue on the covnnection area on the BAck piece. Work fast.... this glue dries quickly.
 
 
Now position the two pieces back together. SLIDE the pieces around till the glue becomes sticky. this will help SEAL the two pieces together.
 
 
Now take two c-clamps and hold the pieces together. Make sure you are getting good surface tension on the two pieces. Once the glue is dry, you will not be able to get the pieces apart easily.
 
 
Lay the helmet on its back and place a HEAVY roll of duct tape on the interior back so that the two pieces will have some tension on them.
 
 
As this dries (within 1 to 2 hours), take this time to cut out the eyes, side vents, and mouth vents. This will take about an hour.
 
 
Use sandpaper to scratch up the inside of the plastic around the eyes and vents just a little; this will make a good rough area for surface tension for the Silicone to adhere to.
 
 
Once you cut those out, cut out the eye lenses from your Sunglasses and size them up to the eye holes. You will want at least a 1/2 inch ridge for connectivity on these.
Tape the eye pieces into the helmet from the outside.
 
 
Also cut out the side vent grill from your grill molding and size this up to the side vents.
 
 
Caution: Dangerous Activity

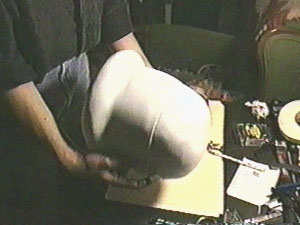
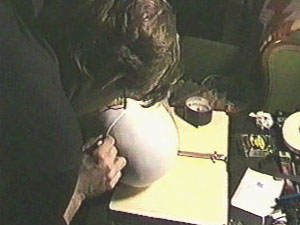
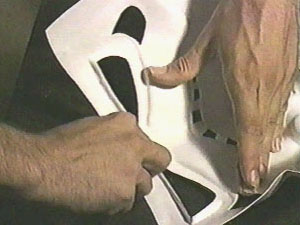
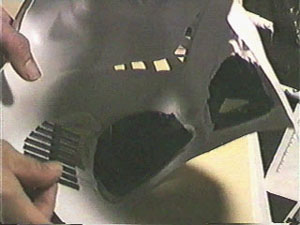
You way need to heat-gun these to get a contour of the helmet so that they fit right into the helmet.


Once you have that done, take the silicone molding and lay a border down around the eyes and vent pieces.
 
 
Place the grill on top of this, making sure not to squeeze the silicone outside the interior of the helmet.
 
 
Now lay down a sealing bead of silicon on the outer edge of the grill and lenses. Wet your finger and press the silicone into the other silicon creating a seal around the lenses and grill work.
 
 
Now cut black cloth out into the shape of the grill and mouth pieces and silicone these down. This will let you breathe easily while not allowing "photographs" to see the person inside.


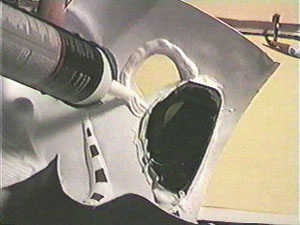
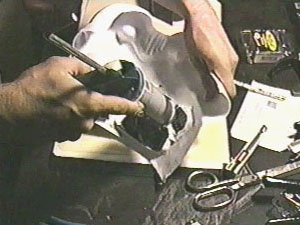
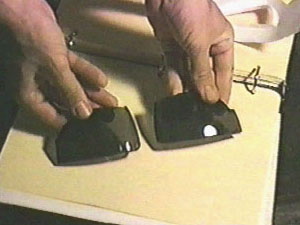
Let the silicone cure for 8 hours.


Now lets take the back of the helmet and position the front on. We will now rivet the two pieces together.
 
 
We will first rivet the bottom section of the helmets together. this connection will allow us to ADJUSt the angle of the Front piece later.
 
 
Rivet the two lower sides of the helmet.
 
 
Now adjust the helmet and cut away any OVERHANG that occurs between the face plate and the TOP of the helmet.
 
 
LOOK AT THE RESULTS!!!!
 
 
Now lay down a strip of ELECTRICAL TAPE over the TOP eye ridge. This will help you visualize the look of the helmet easier when you line up the rest of the side rivets.
 
 
Take the helmet position the Faceplate like you want it to be .... and rivet the sides together.
 
 
Now lets position the EARS onto the helmet. You may need to do some customizing to get them to fit correctly. Everyhelmet is different I've noticed.
 
 
You may need to use the HEATGUN to get the Lower ear to fit snug against the helmet. Watch the temperature of the plastic while you do this, don't melt the plastic soo much that you burn it.
 
 
Drill/Rivet the lower ears to the helmet.


SCREW down the upper ear. Rivets are not long enough for this connection so use screws.
 
 
Use a HOT GLUE GUN to seal the sharp edge of the screw on the inside of the helmet!


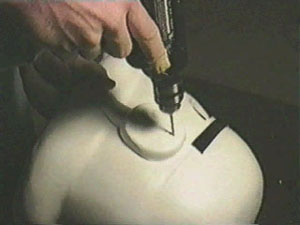
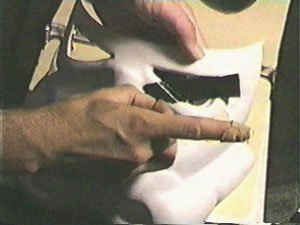
You are finished RIVETING and BUTTONING the costume together, all that is left is DETAILING !