|
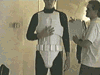
Chest, Upper Back, Shoulders and Biceps
|
|
|
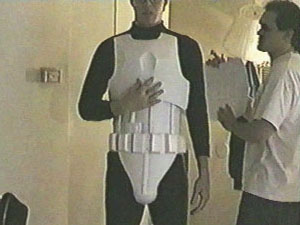
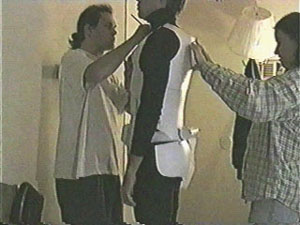
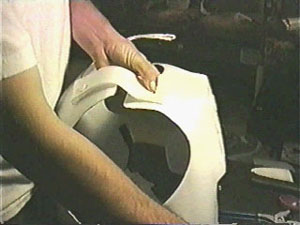
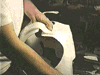
Next we will work on the upper torso. Cut out the chest and back armor and position them to fit to the wearer. If you did the molds correctly, the chest and the back should just butt up together easily. They should not have any overlap at all. Overlap causes problems in these parts. lots of mobility is needed in the upper torso area and overlapping can cause binding of the plastic parts. If you can, leave a 1/8th of an inch gap at the shoulders and the sides.
|
|
|
|
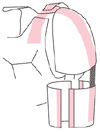
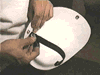
The shoulder armor parts can either be glued or rivets onto the armor. In our early days of trooper armor making we riveted vinyl belts on for shoulder armor instead of using the more accurate hard plastic pieces. Now days we vacuumform the shoulder armor and connect them to the chest. We do not connect them to the back armor though, we just let them hang free.
|
|
|
|
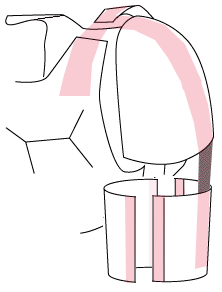
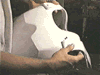
The Shoulder areas of the chest and back armor are secured together by 2 inch wide velcro straps. You'll want to sew two pieces of velcro into a "T" shape. This "T" shape not only will connect the chest and the back together, but also comfortably connect the shoulder bell and the biceps to the wearer. 2 inch wide velcro is crucial in this high movement area. Keep in mind that we will use a 1 inch wide velcro to clam-shell the biceps together just like the thighs and calfs are clam shelled together.
|
|
|
|
You'll want to measure the length needed for the "T" velcro before you jump in and start sewing. We've wasted alot of velcro by not measuring before we started sewing, and that just cost us time and materials. "Measure twice, cut once", is a good rule to live by.
|
|
|
Don't forget to place the 2 inch wide sticky-back velcro on the insides of the shoulder areas of the chest and back armor, and also the insides of the shoulder bells and biceps. Like we said before, we prefer to use the smooth CLOTH (loop) side of the velcro for the inside of the armor strictly due to the fact that it will not snag the black undersuit as much as the PLASTIC (hook) velcro.
|
|
|
|
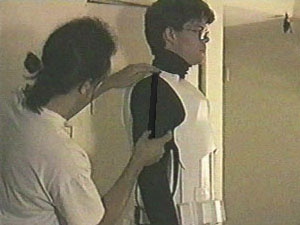
Now you'll want to connect the side of the armor together. A 10 inch long thin elastic strap is used in this area. Use BLACK elastic if possible. We Rivet-connected the strap to the back armor and button-connected to the chest armor on each side. You can use velcro if you like, but we prefer the button snaps for this particular area. It's your choice.
|
|
|
|
Rivet/Button a WHITE elastic strap on the lower inside of the shoulder bell. This will wrap around the bicep when worn. This strap will keep the Shoulder pad from "flopping" all over the place.
|
|
NEXT: FOREARMS
|
 |
|
|