Connecting the Lower Back to the Abdomen


NEXT: THE UTILITY BELT
Connecting the Lower Back to the Abdomen |
||
| |
||
| Basically the abdomen armor and the back are CLAM SHELLED onto the wearer. Elastic shoulder and thigh suspenders are also connected to this clamshell system for vertical support of the armor. The Clam Shelled plastic are connected via 2 inch wide elastic straps with 2 inch wide velcro strips sewed to them. The two inch wide area is crucial for strength and support in these areas. | ||
| |
||
|
|
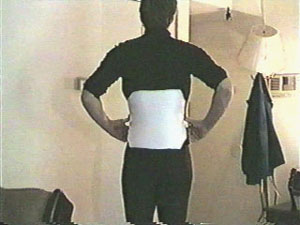
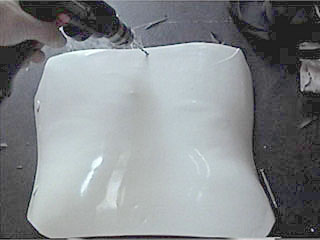
Put the lower back on first, size it out, and figure out exactly where it is going to be sitting on the body. Making sure it is a comfortable fit. | |
| |
||
|
|
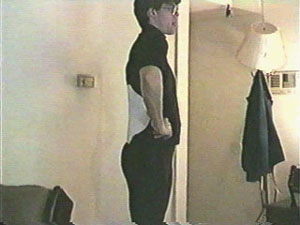
Now you'll want to cut away any excess on the sides. You just want it to wrap around half-way, but not over half (i.e. not 60%, just 50% of the way around). | |
| |
||
|
|
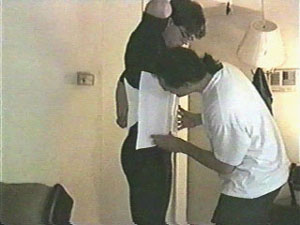
Once you have that positioned and cut out, the model will hold the lower back while the second person places the abdomen and then sizes up the abdomen to the front of the model. Once he has done that and it all fits, then you will cut the excess off the abdominal pieces (any excess that's hanging off the sides). | |
| |
||
|
|
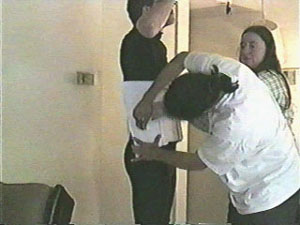
You are going to want the abdomen and lower back to butt up right next to each other. No overlapping should occur at all. | |
| |
||
|
|
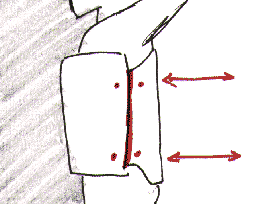
Continue to hold the armor in place and mark where you want the clamshell straps to go. Two per each side. This will give adequate support to the armor and still allow flexibility in movement. | |
| |
||
|
|
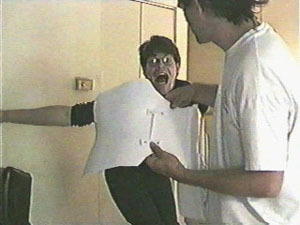
If your model starts acting like this ... just ignore him. (grin) | |
| |
||
|
|
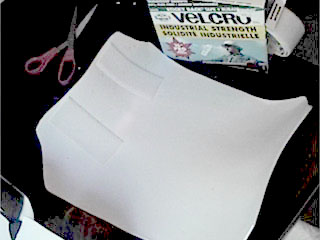
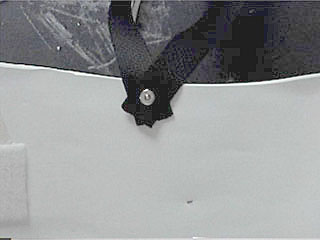
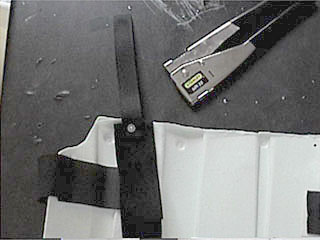
Start attaching 2 inch wide industrial Sticky-backed velcro to the inside pf the abdomen armor where you made the marks (Industrial Strength Velcro is available at my local hardware store these days, September 2001). I made my velcro strips 4 inches long just to make sure that I would have a good grip with the velcro. I use the CLOTH (loop) side of the velcro on the inside of the armor due to the fact that the PLASTIC (hook) side of velcro tries to snag the black body suit worn underneath the armor. | |
| |
||
|
|
Make sure you carefully lay the velcro into the ridges of the abdomen armor. If the velcro is not attached to plastic across the whole surface of the sticky area, the velcro will have a tenancy to pull up over time. You might want to rub the sticky velcro with the back of a spoon just to make sure the sticky surface is secured firmly to the plastic. | |
| |
||
|
|
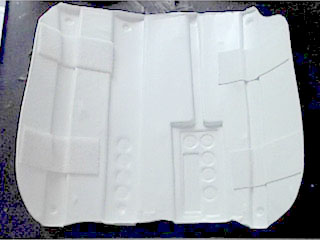
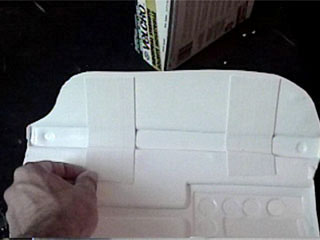
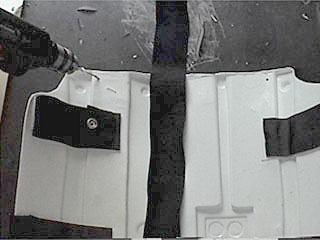
The clam shell diagram. | |
| |
||
|
|
Position the same amount of 2 inch wide sticky-back velcro to the lower back armor also. | |
| |
||
|
|
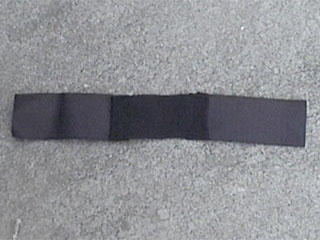
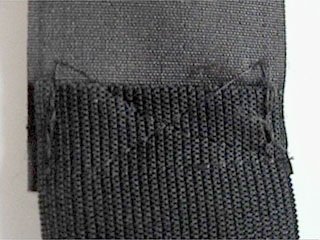
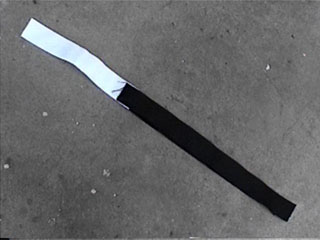
Sew 2 inch wide PLASTIC (hook) velcro to a 4 inch strip of black elastic banding on both ends of the elastic. Make sure the velcro is sewn tightly and securely to the elastic. You do not need the abdomen to come apart when you are dancing on the disco floor, correct?!? (grin) | |
| |
||
|
|
Next you'll want to connect the suspenders to the armor so that the abdomen and lower back will not side down the wearers body. We cut both of our 2 inch wide elastic straps 25 inches in length. | |
| |
||
|
|
Let's work on the suspender harness. Drill a hole about 1/2 inch away from the edge in the middle of the lower back armor. | |
| |
||
|
|
You'll want to rivet one end of each of the two shoulder straps to the middle of the lower back armor. Make sure that the elastic is secured to the inside of the armor. If you do not secure it to the inside, then the upper back armor will consistently get snagged on the exposed straps. | |
| |
||
|
|
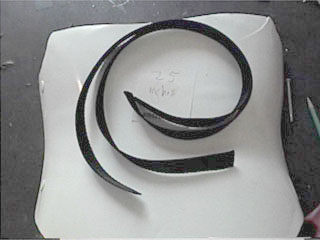
At this time you'll want to make the thigh straps that will hold up the thigh armor. We used 6 inches of velcro and sewed that to 8 inches of elastic. Both pieces were 2 inches wide. The two inch wide area is crucial for strength and support in these areas. 1 inch wide velcro strips do not have the strength needed to counter act the stress and weight that the suit has on it. | |
| |
||
|
|
On the abdomen armor, drill two holes about half and inch away from the edge of the plastic. One on each side, just above the velcro connection areas. | |
| |
||
|
|
Now rivet one thigh strap and one shoulder strap to the inside of the abdomen armor per each hole. Make sure the velcro for the thigh strap is facing outside. You do not want to have the velcro twisted under the armor when you are wearing it. | |
| |
||
|
|
And that is basically it. You now have a very comfortable, flexible suspension harness for your trooper suit. This harness works amazingly well also. Most of this is made possible by the 2 inch wide, industrial strength, sticky-back velcro. | |
| |
||
|
NEXT: THE UTILITY BELT |
||