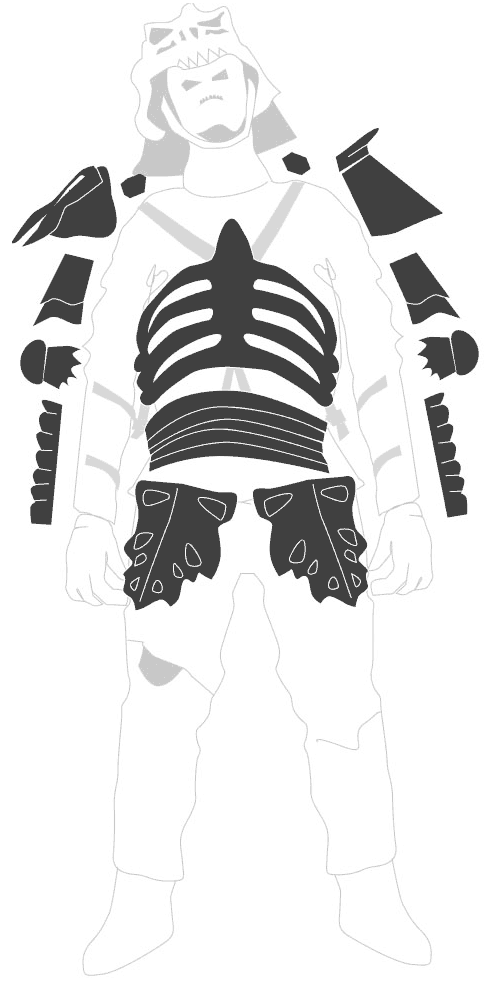
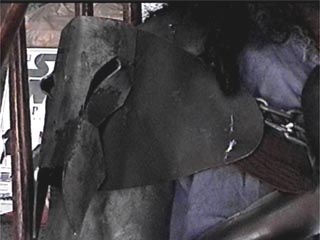
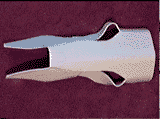
The Shoulder Armor
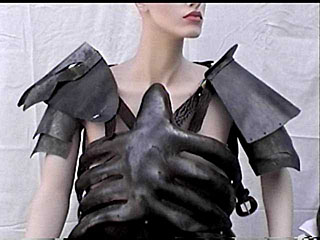 The Original Evil Ash armor was based on 15th century Italian and German armor. John Hart , one of the artists who worked on the original movie armor oh-so-long ago, dropped us a line and gave us some tips about the creation of the armor.
"The original concept was fossilized armor, steel fused with bone, with the color scheme black and rust with a little bit of shine here and there."
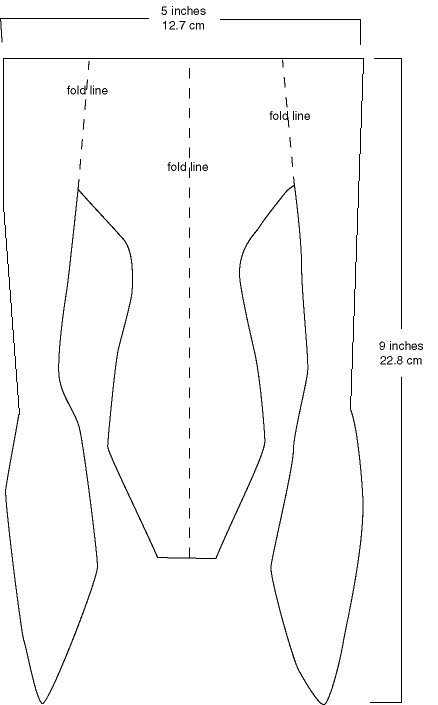
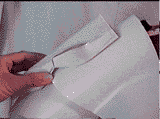
 Our shoulder armor was constructed from 1/8 inch thick sheets of plastic. We drew a template of the armor onto the flat plastic, heated the plastic slowly over a stove-top heating element and curved the plastic to the desired shape.
That's the easy way to say it.
The templates were created first in thick construction paper, sized up to the wearer for proper fitting, and then traced onto the plastic. The paper template is crucial in saving time with R&D. It takes less time to modify paper than it does to reheat a piece of wrong sized plastic.
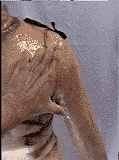
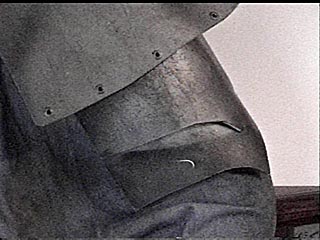
Each shoulder armor is a different size and shape. The left shoulder armor is a bell looking shape while the right shoulder contours to the natural form of shoulder and the wearers breast.
Left Shoulder Armor
 Here we are measuring the length of the arm for the paper template. The left shoulder armor will actually sit diagonally on the shoulder and come about 1/2 way down the bicep. The measurements all depend on the wearer. This is why a paper template is so convenient. Our shoulder bell was -- cm long. You need to make yours a little longer or shorter, depending on the size of the wearer.
Here we needed to check how much of a curve we wanted for the left shoulder armor.
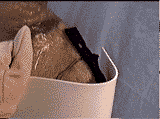
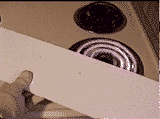
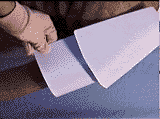
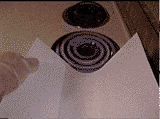 Taking the sheet of plastic we CAREFULLY heated up area to be curved. Be very careful here. That element is red hot. Kids, do not attempt this without parental supervision.
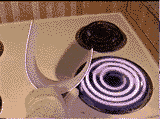
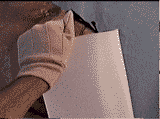 Once the plastic is hot enough to bend with our hands (but not so hot that it's all droopy and hard to keep in a nice even curve) we lay it close to our model and hold it in place over the model as the plastic cools. Notice that we wear gloves!
 Thermaforming the plastic as one sheet is easier than cutting out the armor and heating it up as the final piece. The extra plastic on the raw sheet allows you to grip the plastic while it is being heated, without marring the final armors surface.
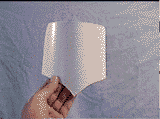
The final cut out left shoulder armor.
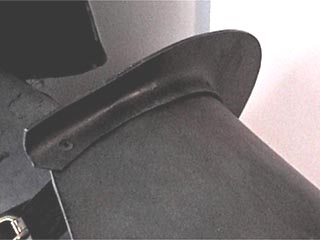 On the left shoulder armor Evil Ash had some sort of steel wall attached to the armor. I believe this wall was to protect the wearers neck from getting sliced by an opponents weapon.
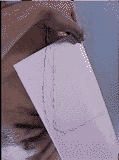
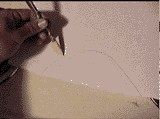
 The easiest way to make this protective wall was to put the armor on end and draw the curve of the armor onto a piece of plastic.
 Once you have the curve of the armor drawn you'll want to add 1/2 inch of a ridge to the bottom of the curve , this area will be heated up and bent to conform to the top surface of the shoulder armor.
 Here we draw the actual protective wall that will protrude off of the shoulder armor. Notice that we made the front part of the wall shorter than the back of the wall. This will allow the wearer to move his head to the left and right and not have the wall obstruct his vision.
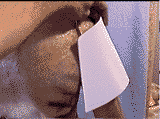
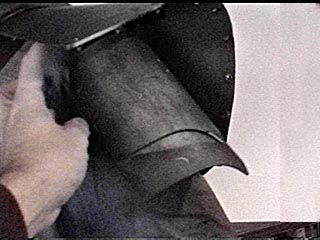
Once the plastic is pliable fit the wall to the shoulder bell exactly where you want to place the wall. Hold it in place until the plastic hardens back into
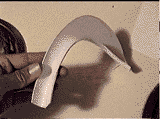 Here is the protective wall with the ridge thermaformed to the contouring shape. Now all you need to do is rivet the protective wall to the shoulder.
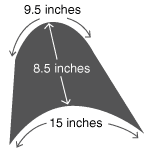
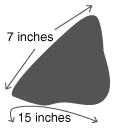
The left shoulder armor measured 9 inches around at the top , 15 inches at the bottom and it was 8.5 inches long.
Right Shoulder Armor
 |
We created the right armor the same way. Creating a template out of paper first and then slowly heating the plastic over the oven to form it into the desired shape.

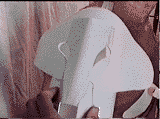
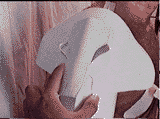
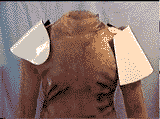 The shoulder armor pieces taped in place on the mannequin.
The right shoulder measured 15 inches from chest to back and 7 inches wide arcoss the shoulder.
Cowskull Ornament
 On the right shoulder armor there seemed to be some cow skull attached to the shoulder. When I made my armor, I really didn't want to sculpt out and resin cast a skull, so I decided to make a skull out of plastic sheets. This technique would also look like a metal smith formed a skull for the armor.
 I will admit, this technique is a cheat on the authenticity of the costume, but one that saved me quite a few hours in production. You can sculpt out your own skull if you want, or better yet, hunt down a similar skull used in the real Evil Ash costume. Jeffry Hedgecock, original metal smith on the movie armor, says they took a cast off of a lawn ornament skull, made a plastic skull from that and bolted the plastic skull to the armor. What company made the lawn ornament is unknown as the piece was purchased in Southern California in the early 1990's and not documented.

The cow skull is 9 inches long and 3 inches wide from the center eye -to- center eye.
Bicep Scale Armor
 We needed some armor to cover the bicep region . The armor is just be two curved plates that over lay one another and cover the bicep. This type of overlaying armor plates is called scaling, just like fish scales.
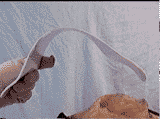
We use a -- cm wide strip of plastic as the basis for these scales.
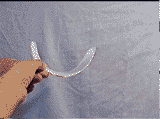
The plastic curved and cut after heating.
 We need to measure the depth needed for the scales. Since your arms might be shorter or longer than mine, just eyeball the length needed to cut the scales out.
 Notice we have about 3 inches of scale under the shoulder armor. This extra height lets the armor look natural when the arm gets raised up. or the shoulder pad is flopping around during intense movement. We riveted the armor plates to leather straps for connectivity.
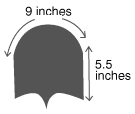 Our biceps measured 5.5 inches tall and 9 inches around. Your bicep armor might be bigger or smaller depending on your body size. We built our armor for a 5 foot 11 man. Average weight and build.
Cape Armor
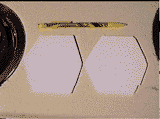 The cape has two armored plates that cover up the attachment brackets for the cape. These are made from hexagonal shapes, with their sides thermaformed down to make shallow walls.
 Basically you just heat up 1/4 of an inch of each side of the plate and once pliable enough. Press that edge to a hard surface and bend the plastic untill the plastic cools into the shape you desire.
 These plates also had some small metal cast skulls on them for decoration. We did not add these skulls to our armor due to time constraints.
The final cape armor measured 4 inches wide and 3.5 inches front-to-back. You need to add in the "folded down side" measurment to your pattern when you make your plates.
-end of shoulder armor-