Venting Rails
We need to put venting rails along the blaster body. These are crucial to the look of the blaster. The original "Star Wars: ANH" and "Empire" blasters used windshield wipers for some 70's european car, possibly BMW. They just stuck the rubber into the vent holes. "Jedi" blasters were slightly different, and had metal channeling riveted to the vented body of the rifle. I like the metal channeling version best and that's what I'll show in this tutorial.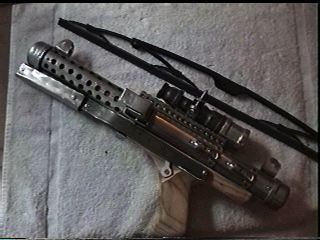 For my channeling I used the wind shield wipers from a wreacked '96 Firebird and a '93 Toyo wagon. Try to find the squarest windshield wiper blades you can find, or get some channeling from a sheet metal shop or an air conditioner repair shop. Both should have inhouse channel forming machines.
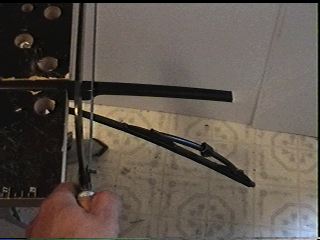
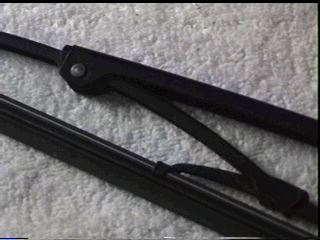 We'll be using the main steel part of the windshield wiper for the vent rails.
 Here's a cut away section to show you just what we're talking about.
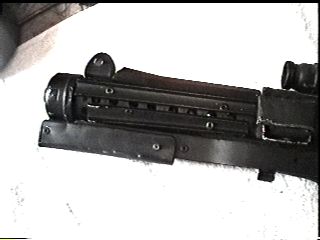
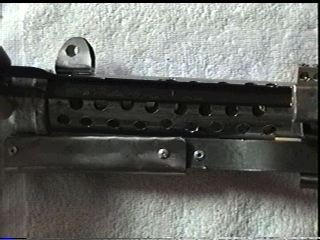 the rails will be riveted inbetween the air holes drilled into the blaster body.
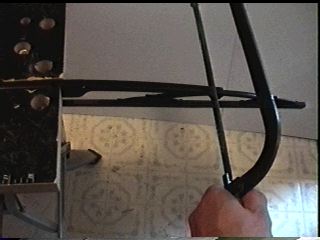
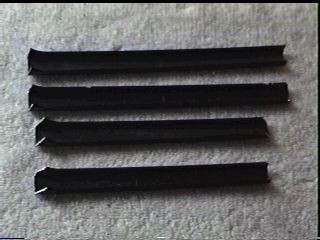
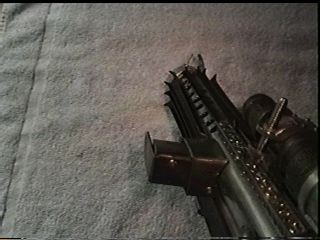
We cut the windshield wipers the length we needed them.
Remember when looking for wipers that "too long" is better than "too short".
 the rails pre-attached.
 Take the cut rails and check to make sure they will fit into the slot you want them in. I had a hard time adjusting a set of rails that I did not check to make sure they would fit in place before hand.
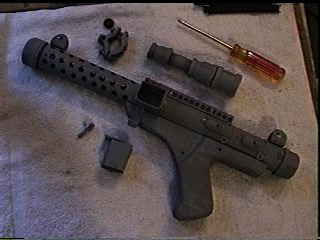
 Before you attach the rails you will want to paint the blaster. The rails are pretty odd is shape and you might not get paint in all the crevices between them. Here's pict of the blaster parts unassembled with a grey primer coat of paint on it.
 the Flat Black painted replica, unassembled.
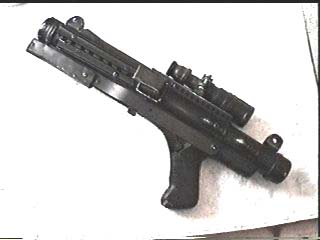 The finished product.
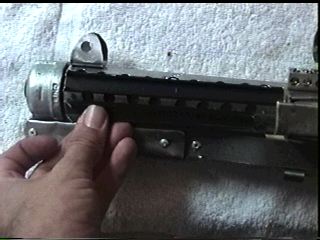
The rails attached to the Blaster.
I used 1/8 inch size rivets to attach them to the blaster body.
First I drilled the holes, then riveted the parts down. Very simple.
-end of page-