The Scope and Pistol Grip
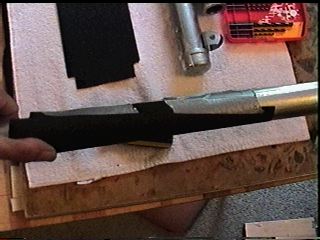
Now we need to place the scope and pistol grips onto the replica Blaster. The original scope in the STAR WARS movie blaster was actually an Azimuth Finding Scope used on tanks in World War 2. My scope is mainly made from galvanized water pipe fittings. The pistol grip is custom made out of wood.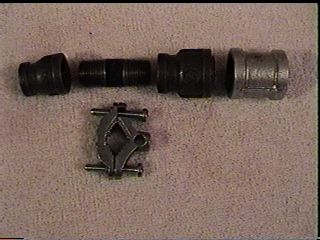 Here's all the parts needed for the scope unit. From right to left....
- a 3/8-to-1/2 inch reducer coupling
- a 1/2 inch threaded pipe connector for the scope bracket area
- a 1/2-to-3/4 inch reducer coupling
- 3/4 inch threaded pipe connector (not shown)
- a 3/4 inch coupling
- (BOTTOM) a 1 inch pipe mounting bracket. (this gets mounted on top of the replica)
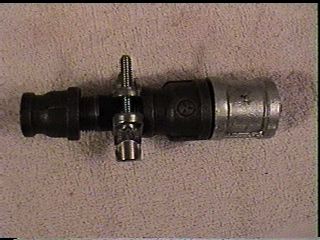
Here's the scope screwed together. It's pretty simple to make. :)
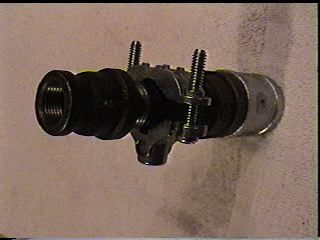
a 3/4 view of the scope.
 Lets connect the pre-created scope to the blaster body.
 You need to drill a hole in the blaster body where you want the scope to attach. Then take a screw and screw the mounting bracket to the body. You can then attach the scope to the mounting bracket once the bracket is secured. Got that Mikey!?! Is it plain enough for you to understand? Sheeeez!!!! MOUNT THE BRACKET ALREADY!!!!
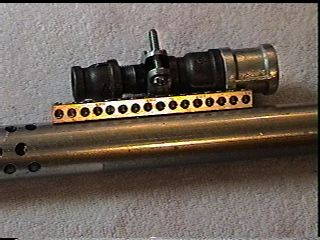 We need to beef up the look of the blaster body on the top of the replica so lets screw down a metal bar to the top of the gun right next to the scope. This'll help the over all look of the weapon.
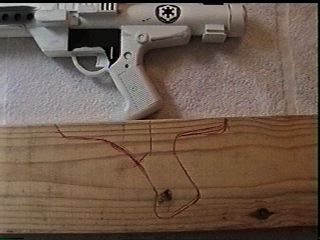 You need to build a pistol grip for the blaster. This can be achieved either by sculpting the grip out in clay and casting a resin grip....or carving one out of wood. We made ours out of wood.
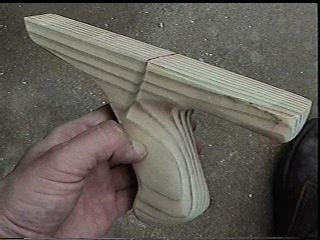
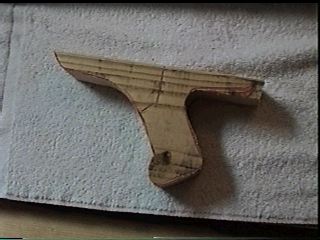 Here's the cut out pistol grip... pre-sanded. We used the Kenner toy as a template. Smack this link for a fullsize grip template.
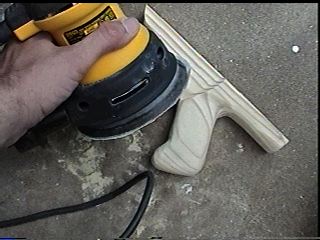 We used a "Random Orbital Sander" with variable speed settings to sand down and scuplt out the pistol grip for the blaster. The Orbital Sander will save you countless hours in sanding. It's definetly worth the $80.00 it cost to buy.
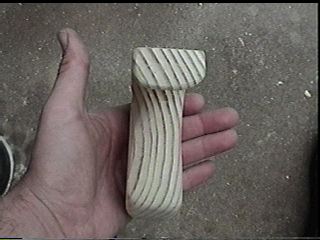
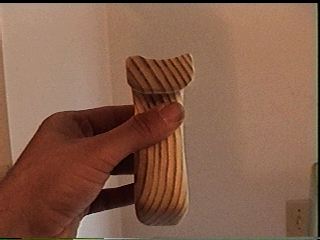
The finished sanded product. the grip took about 1.5 hours to sand down to the desired shape. Notice we put a recessed area in the front of the grip for the selective firing switch. It put a nice touch on the grip.
 We need to sand a curved groove along the top of the pistol grip to ensure a secure setting to the blaster body. We'll tape a piece of 60 grit sand paper to a spare piece of 1 1/4 inch pipe to make this groove in the pistol grip.
 Now we'll just rub the pistol grip along the sand paper and grind down a groove into the wood.
 The final groove.
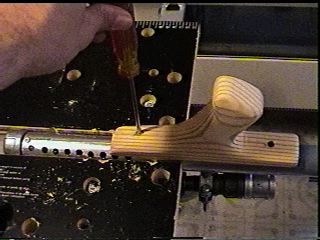 With the groove in the grip you can pre-drill the holes and screw the grip down onto the bottom of the blaster body.
 The blaster with the grip firmly secured to the body.