The VACUUM TABLE
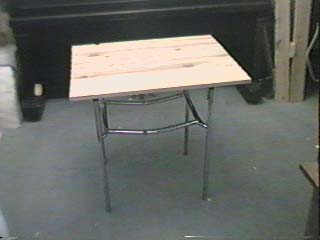
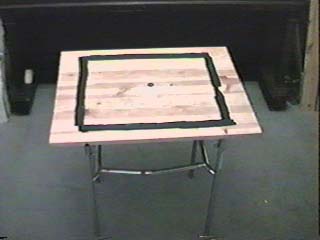
Make sure that the table you will be using is large enough to place your 'holding frame' flat onto. The holding frame will be only as big as the intrior of your oven.
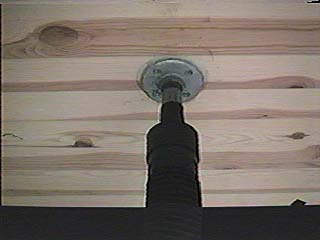
Drill a hole through the middle of the table. This hole will be the SUCKING hole for the vacuum process. A Shop-vac, or vacuum pump of some sort, will connect to this hole, causing a vacuum that will SUCK the HOT plastic down onto your molds.

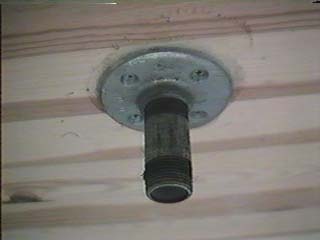
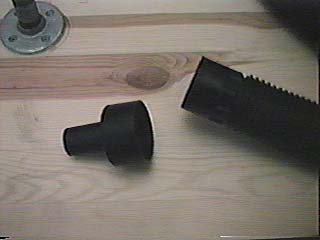
Screw a Threaded Fitting into the circular fitting. Seal the threaded fitting with plumber's tape, if you want. This Threaded Fitting will connect to the Shop-vac's Reducer Nipple when the time comes. Reducer nipples can be found in hardware stores in the shopvac sales area.
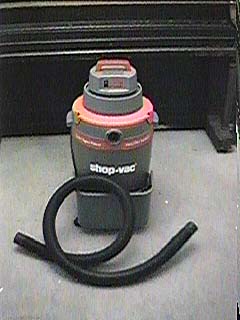
I do not know if a 1.5 or 2 HorsePower shopvac will work for your needs, but I know a 3 HP Shopvac worked well for my first armor projects. Currently, I use a "6" h.p. Shopvac. (updated info. Jan. 2000)
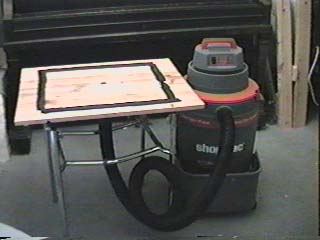
Connect the hose to the Shop-vac and your ready to vacuumform!