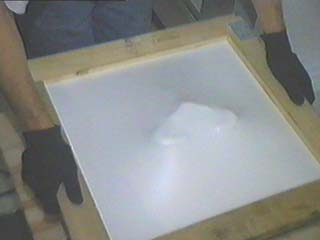
01 Quickly transfer the plastic to the vactable
Once you pull the frame away from the heat source, do not delay in getting the plastic to
the vacuum-form table.
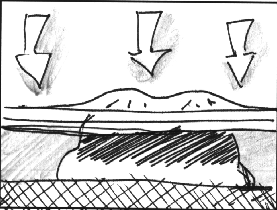
02 Push the frame down onto the plug mold
Do not go at an angle. You want to go STRAIGHT DOWN. If you push at an angle,
you will stretch one side more than the other and this will cause that
side to be THINNER . This is not what we want. PUSH STRAIGHT DOWN !!!
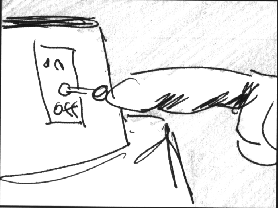
03 Turn on the vacuum machine.
Once the frame is secure, turn on the shop vac/Vacuum pump/release valve. If everything is prepared properly,
the plastic will be quickly sucked down.

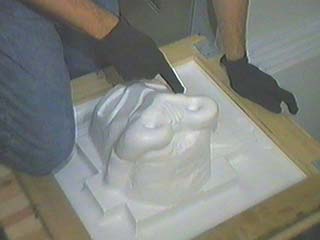
04 Use the heat gun on spots that are not fully heated or that cooled too quickly.
Be careful not to heat the plastic up in JUST one spot.
Try to heat up an area of about 10 inches in diameter. This will let the
plastic suck down in a uniform manner.
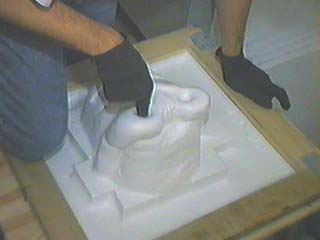
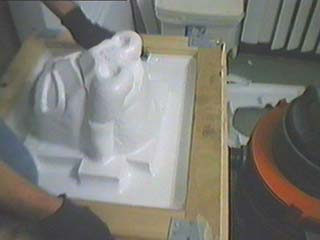
05 Use your fingers to push down areas that may need it.
Be careful!
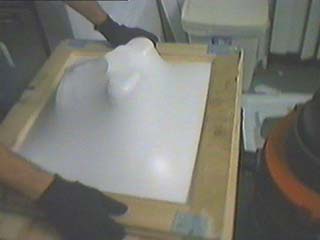
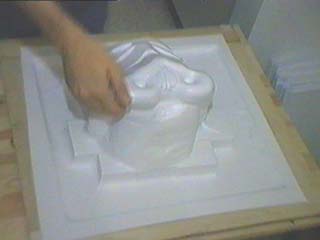
06 Watch out for the plastic BUNCHING up in spots.
Notice how the plastic got sucked together at the sides. We call this Webbing. This happens at right angle areas, where two walls meet. The only way to alleviate them is to have the mould a few inches off the table so that the webbing plastic will have a BUFFER AREA,. An alternative to that is to have a "PUSH ASSIST" ready to help press the plastic against the walls as it gets sucked down.
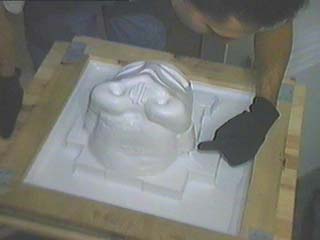
07 Continue the vacuum for at least 20-30 seconds.
This should give the plastic enough time to cool down. Alternatively, you can use fans to cool the plastic faster, but that's an advanced technique for faster production times.
Turn off the heat gun at this point.
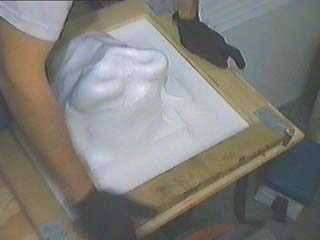
08 Turn OFF the shop-vac and release the pressure
Once the plastic has cooled enough to remain rigid, you can stop the vacuumforming process.