The Tusken Rifle
There were a number of different rifles carried by the Tusken Raiders in the Star Wars movies. This is a good thing as it allows for flexibility in design and construction of a replica.
Keep in mind that a tusken raider prop is never CLEAN looking. It must look battered and used. Use sand paper to scuff up edges and possibly beat a chain against any wood surfaces to replicate damage marks. I recommend lighty brushing on diluted dirty paint, or possibly brown shoe polish, to simulate dirt and grime.
1977: A New Hope Rifles
The rifles seen carried in ANH were mainly real-world rifles that (if memory serves me correctly) were Middle East made. Since Lucas mandated that the look and feel of the Tusken Raider characters would emulate the Bedoiun people, the costumers decided to just take MIddle Eastern rifles and spruce them up to look more scifi-ish.
More info to come on the 1977 ANH Rifles as I research them.
Prequel Rifles : Episodes 1 and 2
The Episode 1 and 2 rifles were not based on any real-world weapons of any kind. They seem to be custom built in the Prop sSop and the muzzle blasts were digitally added.
Click Here for a Printable PDF file of the Ep1 Rifle Blueprint. 1.8 MB file.
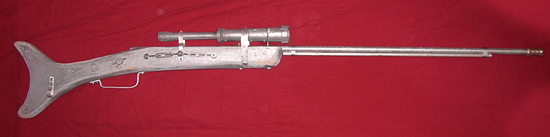
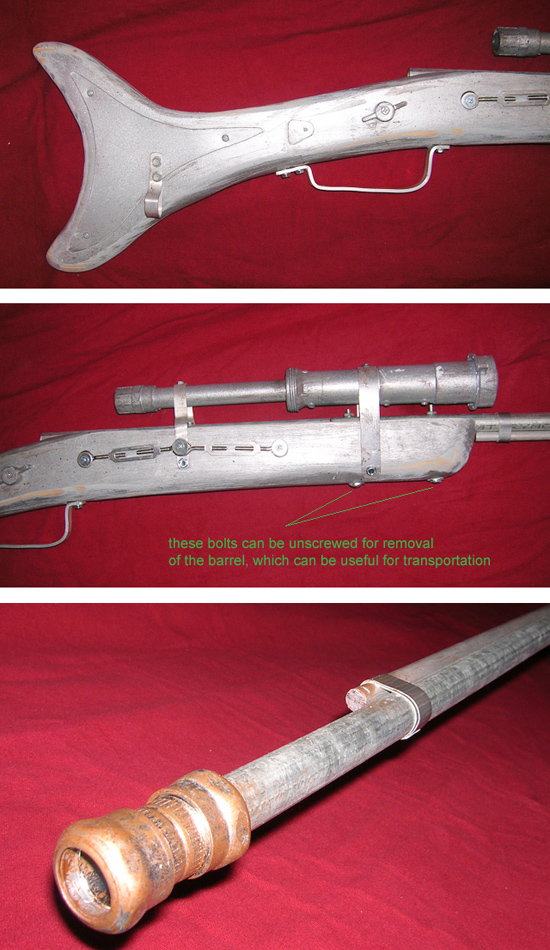
I made my Episode 1-style Tusken Raider Rifle out of a piece of 2X12 board (from the left-over-bin at Homedepot for $5.00). I traced out the basic shape of the rifle body on the wood, using a 1:1 taped-together-print-out from my computer (from image above), then I used a Jigsaw to cut out the shape. I took an electric sander and sanded down the curved edges (60 grit sandpaper at first, then went down to 150 grit for the final smooth surface). I took my handy dremel tool and cut out a groove along the top of the rifle for the barrel to rest in (a wood chisel would have worked also).
For the barrel I used some metal EMT pipe from the electrical section of the hardware store. The end of the barrel was am EMT pipe connector that worked well at looking like a flash suppressor.
The Scope was made some plastic sink tube parts from the plumbing section. I was really happy to find some tapering tubes in a kit for $6.00. Worked really well for the rifle. The attachment brackets was some thin flat metal I had lying around, bent into the needed shape to hold the scope up.
The side details on the rifle were just bits and pieces cobbled together and screwed to the wooden body.
I spray painted the whole thing a silver color, then ran sandpaper over the edges to rough it up and make it look distressed. A tiny amount of brown paint on a paint brush did well for putting dirt in the cracks and crevices, adding to the used look of the weapon.
All in all, the build took me 3.5 hours one morning (not counting drive time from the hardware store). The rifle was one of my best "FAST MADE" props.