The Utility Belt


Voila... your done with the Utility Belt.
NEXT: THE CHEST
The Utility Belt |
||
| |
||
|
|
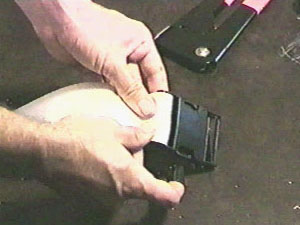
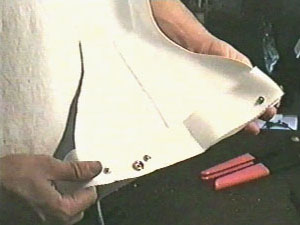
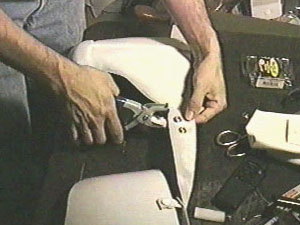
Get your webbing and Rivet your white large quick clip to it. | |
| |
||
|
|
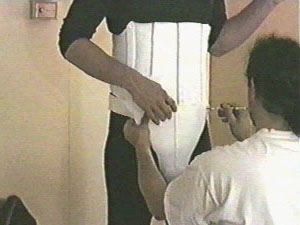
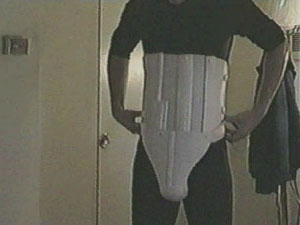
Then place the abdomen on the model, snap it together, and size it up. Make sure the quick clip is on the side a little toward the back (either right or left side, it doesn't matter which). You do not want it in the front or directly on the side because then the plastic utility piece will not be able to connect to the web belt. | |
| |
||
|
|
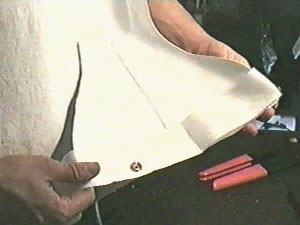
Once you've done that, you're going to want a connectivity spot for connection to the abs so that the abs will not ride up and down when you walk. The utility belt actually holds the abs in place. Use a button connect between the abs and the utility belt, then rivet or button the plastic utility piece together, and then size that up to the web belt. | |
| |
||
|
|
Now rivet the groin piece to the webbing. | |
| |
||
|
|
Place the webbing and utility belt back on the model and make sure if fits correctly. | |
| |
||
|
|
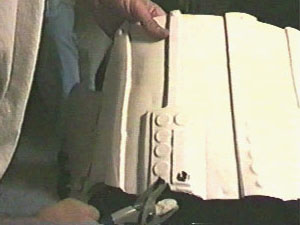
Now lets position the Plastic Utility boxes onto the Webbing | |
| |
||
|
|
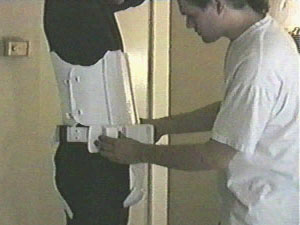
Pre-drill the holes onto the utility belt and then have the person hold the plastic utility belt up to the web belt while the second person marks where the holes should be on the web belt. Then connect your buttons to them with your button gun, or however you want to do that. | |
| |
||
|
|
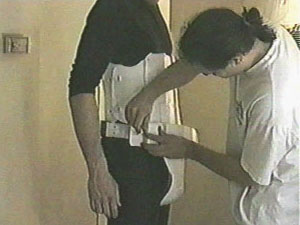
Now you'll want to connect the butt area to the web belt. Check again to see where the web belt connects to the lower back. Mark that. | |
| |
||
|
|
Place a button snap on the Web Belt and the Lower Back. | |
| |
||
|
|
There will be two places for connectivity. Use a button snap for this. Use a white web belt or white elastic. The white elastic is going to be riveted to the web belt, but button-connected to the butt! | |
| |
||
|
|
Now that you have the groin and butt on, you will want to rivet/button an elastic strap between the legs of the model, pulling the butt and groin in from the bottom. Rivet a piece of elastic to the butt piece and "button-connect" it to the groin area. You are going to want the connectivity of the button and rivet to be on the INSIDE of the plastic, not the outside. If you connect it to the outside, you will have a protruding thing there and it will not look good. Button-connect on the inside, not the outside. | |
| |
||
|
|
Now lets BUTTON CONNECT the side pouches to the Utility belt. First size the up to the model... marking where they go | |
| |
||
|
|
Then BUTTON connect them to the webbing. Voila... your done with the Utility Belt. |
|
| |
||
|
NEXT: THE CHEST |
||