|
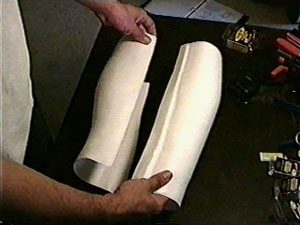
Lower Calves
|
|
|
|
Now lets put the calfs together.
|
|
|
|
Line up the two halves and drill a hole about 1 inch from the top. Careful not to drill into your fingers.
|
|
|
|
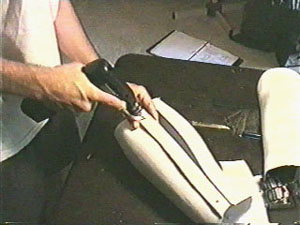
Now rivet that hole.
Next...Drill and rivet a hole at the bottom of the calf. Doing these drill/rivets separately ensures that the holes will line up better than if you drilled the holes all at once.
|
|
|

|
After you've finished riveting thefront of the calves together, you'll want to put on the thighs and calves to make sure that they fit
correctly- that you are not going to have some pinching when you walk.
If there is pinching, you need to cut away the stuff that is pinching.
It's that easy. Just cut it away. Don't cut away too much at
one time because once you take it away, you cannot get it back.
|
|
|
|
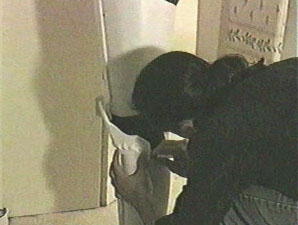
Once you are sure of the NO-pinching thing... lets fit the calf to the model. Wrap the calf around the leg and adjust it till the model likes the fit. Mark the edge od the plastic where it connects so that you know where to cut any excess off.
|
|
|
|
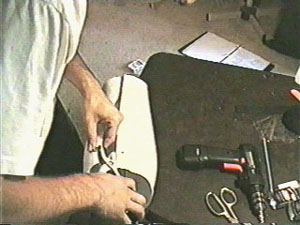
Cut away any excess that is not needed.
|
|
|
|
Now lets drill button holes for the buttons that will "Snap" the back of the calfs together.
|
|
|
|
Clamp the appropriate buttons into the holes. The Smooth White Button should face on the outside.
|
|
|
|
Clamp them down tightly. You do not want these coming apart while wearing the costume.
|
|
|
|
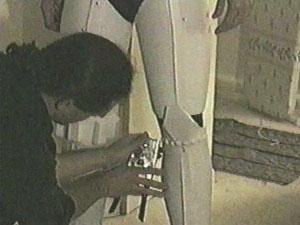
Now go over to the Leg Calf and place the DIAMOND knee cap on that. Make sure to "angle it away" from the upper thigh armor for safety resons (see bottom of the thigh assembly section for a reminder why we "angle it away").
|
|
|
|
I suggest you rivet the front first and the sides last. This will allow you to position the kneecap to a custom angle for the wearer.
|
|
|
|
If your kneecap is too close to your leg and is banging against your knee, you might need to keep the knee cap away from the leg. Here we used a curled piece of plastic to make a 1 inch wide shim. We just riveted it in place.
|
|
|
NEXT: CONNECTING LOWER BACK TO THE ABODMEN
|
 |
|
|