The Thighs


NEXT: THE KNEES
The Thighs |
||
| |
||
|
|
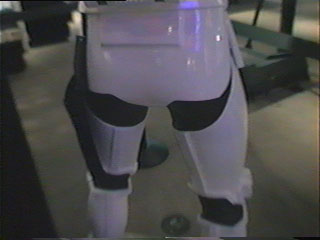
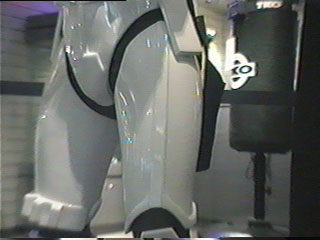
Here are some back shots of the thighs. Notice the Thighs get most of the GAP in the back in the Knee joint. You need the gap so you can walk. Remember how C3PO walked? He was as stiff as a board... Thats becuase he had very little GAP in the back knee joint. | |
| |
||
|
|
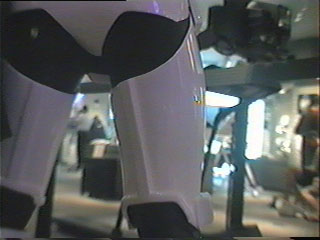
Some front shots. Notice the gap in the groin area.. IT's about a 2 - 4 cm. gap. Maybe more. The lowest part of the "top of the thigh" is on the inside of the leg. This LOW area is not contacting the WEARER's groin... it is rather about 10 - 15 cm below the WEARERS groin. The bottom of the Armor groin falls well below the bottom of the pelvis of the WEARER. | |
| |
||
|
|
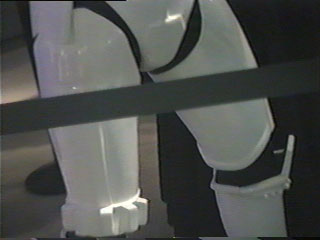
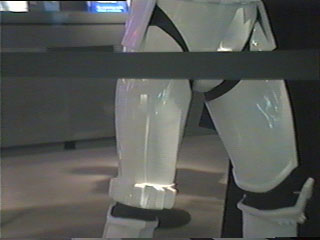
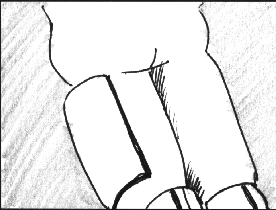
Heres a good shot of the left knee in the front. Notice the RIDGE that runs along the bottom of the thigh armor. It also runs along the top. This ridge helps give the armor that MOLDED look! Notice that the knee cap does not hit the bottom of the thigh. The thigh kinda contours around it, this is important in walking. If they touched... it could break the knee cap... And that would be bad. Also.. the knee cap piece is directly in front of the actual knee cap. | |
| |
||
|
|
Just lay down the slabs around the cast in a 1 in. thick layer. | |
| |
||
|
|
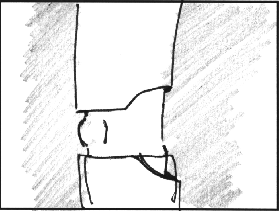
Keep the clay about 1/2 inch from the top of the knee cap. This is so the armor doesn't bite into the wearers joint. | |
| |
||
|
|
Make the back of the thigh a little taller that the front in the knee region. This will help with walking pinching. | |
| |
||
|
|
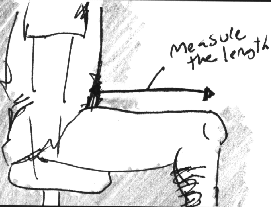
Now see where you need to stop the top of the plastic thigh for sit down purposes. If the thigh is designed too tall for the wearer he will be gouged by the armor when he tries to sit down. | |
| |
||
|
|
If you are designing this for multiple people then sculpt the thigh a good bit taller for LONG-legged wearers... you Can cut the top down if need be when you do "Buttons and Rivets". | |
| |
||
| Once you finsh one leg ... do the other. | ||
| |
||
|
NEXT: THE KNEES |
||
| |
||