The Helmet Detailing


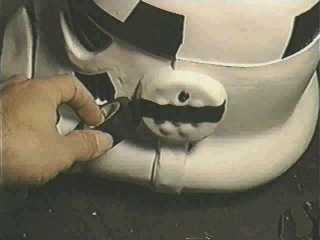
If you buy a stormtrooper armor kit pre-made, chances are you will get the rubber molding, the decals and the mouth aerators all in the kit. When you buy a kit from a propmaker always make sure the propmaker lists exactly what parts come in the kit. If you notice that they missed something as crucial as rubber molding or the decals, you might not want to deal with that propmaker.

Now, if you are like us at Studio Creations, and make your own armor by scratch, you will probably do everything yourself and make your own detail pieces for your suit. Below are LOW-BUDGET ways of detailing the helmet. These instructions are for those of you who are strapped for cash and need some pointers on how to detail your trooper kit for the least amount of money. Not for those who have bought a kit. These instructions below in no way pertain to any kits you buy from the propmakers out there. These are Studio Creations personal tips on lowbudget detailing. :-)
 

Image Okay... First let's lay down a decal for those pesky little rectangular looking things near the top of the helmet. I used black electrical tape to acheive this look (The ILM helmets used "grey" in these areas.). If you bought a trooper kit from a propmaker, these pieces should be on a decal sheet.
 
 
Image Lay down the first strip onto the helmet where it needs to go. You will need three of these little strips and you will chop the top and bottom off later.
 
 
Image Next lay down a second strip that makes up the other edge of the rhombus.
 
 
Image Lay down the middle strip.
 
 
Image Now take your knife out and gently cut the top area off of the tape.
 
 
Image Pull up the excess tape.
 
 
Image Now cut the bottom excess off.
 
 
Image Pull the excess off the bottom. Repeat this for all four of the decals along the top of the helmet.
 
 
Image Let's put the decal on the ears. We will use the same black electrical tape to do this.
 
 
Image Cut the sides of the tape off. Notice how the top is wider than the bottom and it is curved.
 
 
Image Pull the excess off.
 
 
Image Cut little notches out where each of the plastic bumps are.
 
 
Image Now let's put the ventilation decals on the side of the helmet. Lay down a strip of black electrical tape from the ear to the joining crevice.
 
 
Image Cut small vertical strips about four mm wide and four mm apart.
 
 
Image Pull up the strips you don't need.
 
 
Image Now check out your handiwork. Notice that I totally messed up and have too much space in between my black strips. You want thirteen (13) of these individual strips present if you want to be accurate to the movie costume.
 
 
Image Now you may need to put foam on the inside the helmet so that it fits snugly to your head. You may want to put foam on the sides and just above the eye lenses. Use either duct tape or double sided tape to place the foam in the helmet. Trooper kits bought from propmakers usually come with hardhat helmet liners. I Wish I had thought of that when I did these instructions. :-)
 
 
Inside the cheek areas of the helmet are some round detail pieces set into the cheek recessed areas. Alot of fans use standard Faucet nozzles for these detail pieces. Vintage Leather Products offer some amazing custom-made metal replica mic tips based on the movie-used parts used in the 1977 movie armors. Email VLP to order a set.
 
 
Want to amplify your voice while wearing the costume? Amazon.com sells a nice Portable Voice Amplifier and Headset for under $20.00.
 
 
Image Here is a close-up shot. Now the helmet is done. Be more creative than me if you want to be.

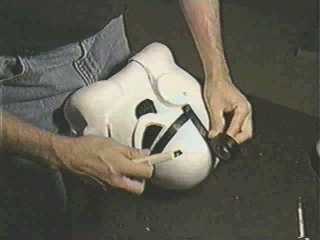
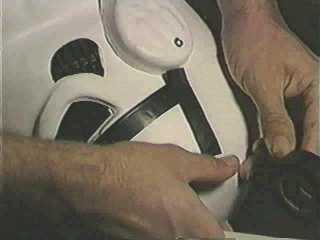
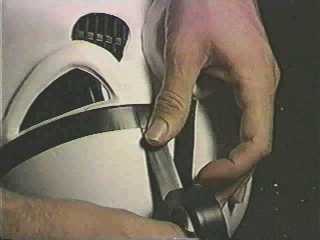
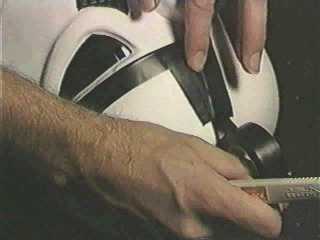
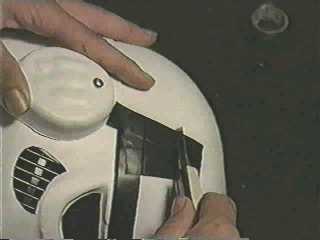
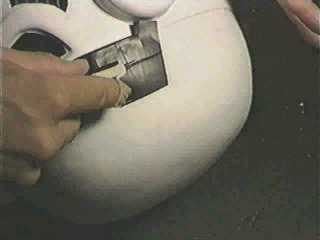
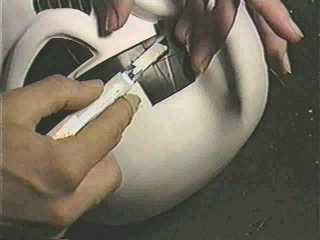
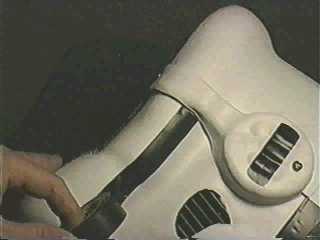
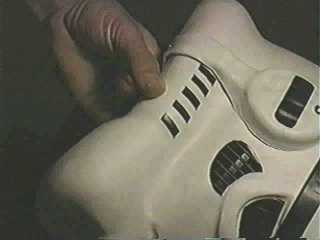
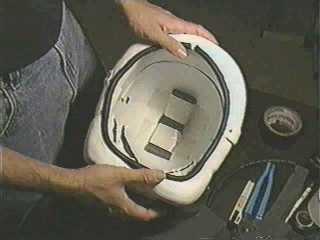
Ohhh... notice I used Black Rubber Tubing for a neck guard to shield the wearer from the helmets sharp edges. The Rubber Tubing is a Vacuumhose for cars. When buying tubing try to get a some that does not smear onto the plastic. Take a piece of scrap plastic with you when you buy the tubing to test the "Rub-off" factor. The trooper kits the fans can buy these days come with fairly decent molding for this neck area. I think the molding is for edging the sharp metal of automobile doors. I have not checked too deep into this so I am not 100% sure. If you find a better alternative for the neck molding, Email Us and let us know.


NEXT: General Details