"Ghostbusters Proton Pack"
From Blueprint to Finished Pack in 24 hours
|
To be honest, this is a project to make a 'down and dirty' replica of the Ghostbuster Proton Pack. The proverbial 'corners' had to be cut to make the deadline of 24 hours. I also did not work 'non-stop' on the project. I slept, ate, and went to the hardware store a couple times. But ultimately, I did complete this in one weekend. Before working on the physical parts of the project, I needed to do some research on what makes up the proton pack. I found an excellent discussion board resource at the "A Site About Props" Forums" and I found blueprints and photo references at gbfans.com. One of the key things I found was some very accurate looking blue prints for the proton pack. A guy by the name of Stefan Otto was nice enough to put his blueprints online for the rest of us costumers, and this sped up my proton pack making project immensely.
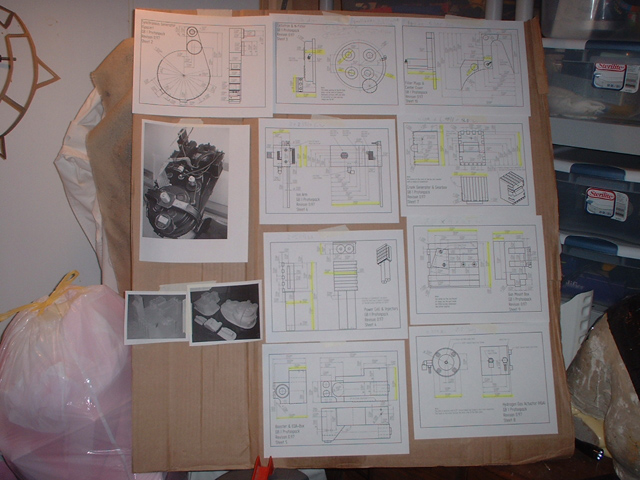
I printed out Stefan's blueprints and highlighted the most important measurements with a yellow marker. Highlighting was key in quick reference as I worked. I taped all the printed pages to a large board which I propped up in an out-of-the-way location in the workshop.
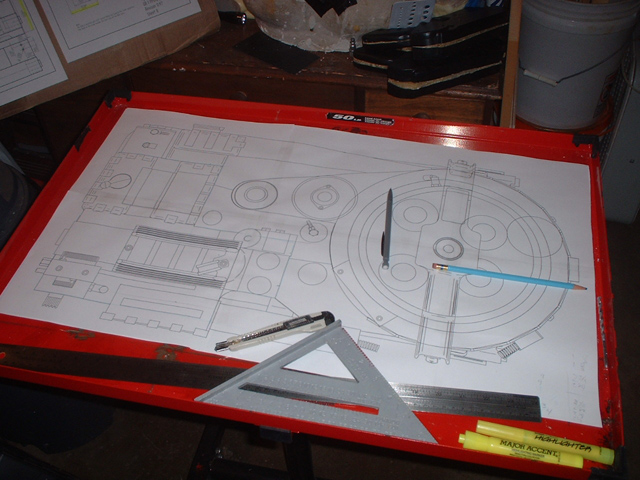
The next thing I did was print out the "TOP DOWN" blueprint in 1:1 scale, this way I could compare parts quickly to a physical reference, therefore double checking my work and limiting error. I used the Adobe Illustrator program to layout the 1:1 blueprint, and I am sure other desktop publishing programs could work for making a 1:1 blueprint too.
5:07pm
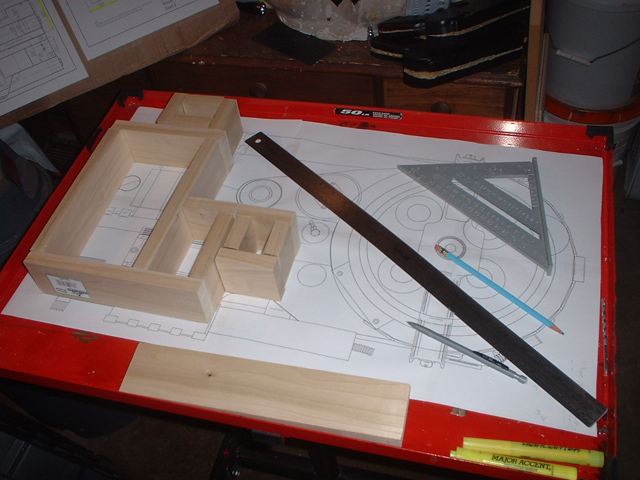
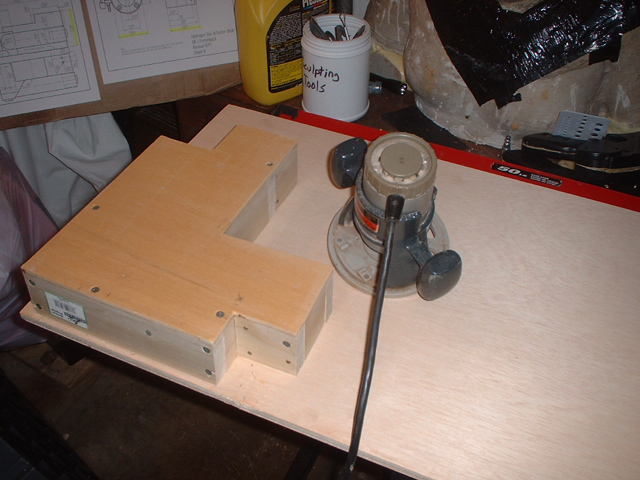
The GB proton pack is mainly made up of a series of boxes that are painted black and have electronic wiring attached to them. I decided to make my boxes out vacuumformed plastic, keeping the final proton pack light weight, but, I needed to make my vacuumform plugs (molds) out of wood. In the image above you can see my initial layout for the boxes that make up the upper part of the proton pack. I am comparing the box layout to the 1:1 blueprint. 6:55 pm
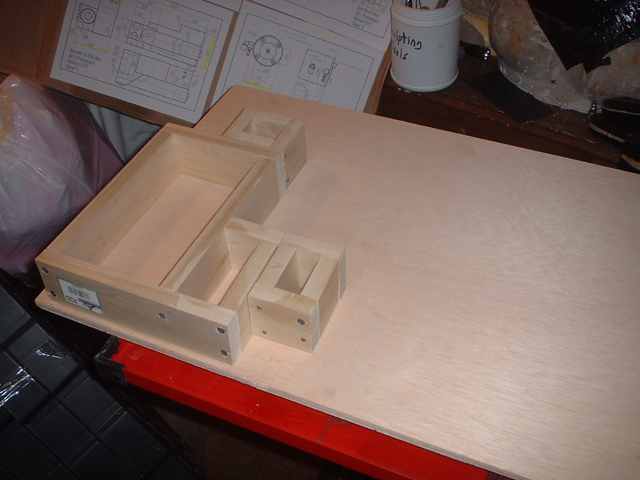
Once I am happy with the layout, I secured the wood walls to a master plywood base (from the bottom of the plywood of course). 7:31 pm
I screw a 1/8th inch wooden top to the wooden walls, then router the top smooth. 9:50 pm
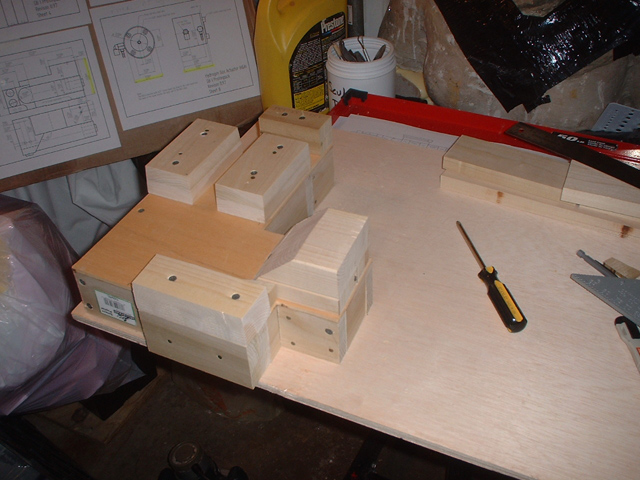
Next I make variable height tops for the final box shapes. Basically these are fabricated from 3/4 inch wood boards and screwed into place. A 2x4 baord, cut diagonally on the bandsaw, is used for the slanted 'booster pipe' tower. 10:43 pm
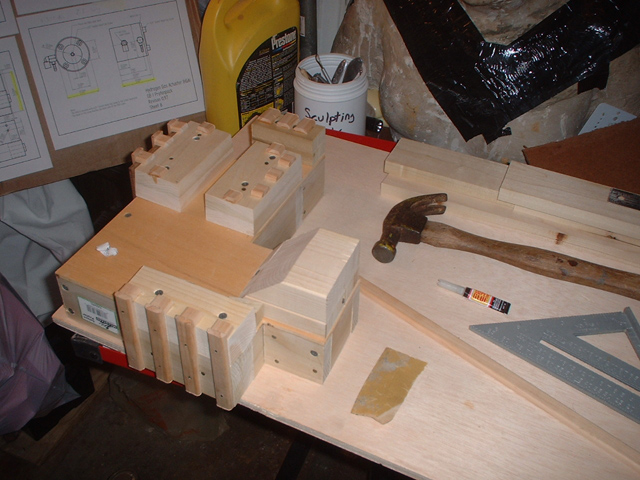
I added/glued 1/4 inch wooden edge trim to the sides of the boxes for detailing. 11:11 pm
Detail closeup. Notice the wooden piece inbetween the two boxes. I custom cut this from a 2x4 and shaped the curved top with a power sander. 12:02 am
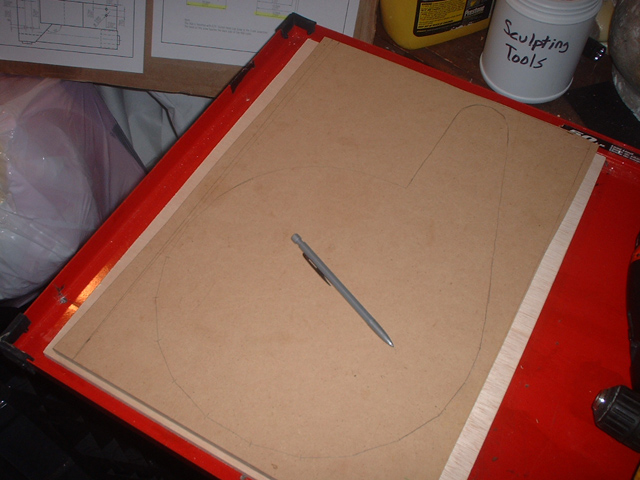
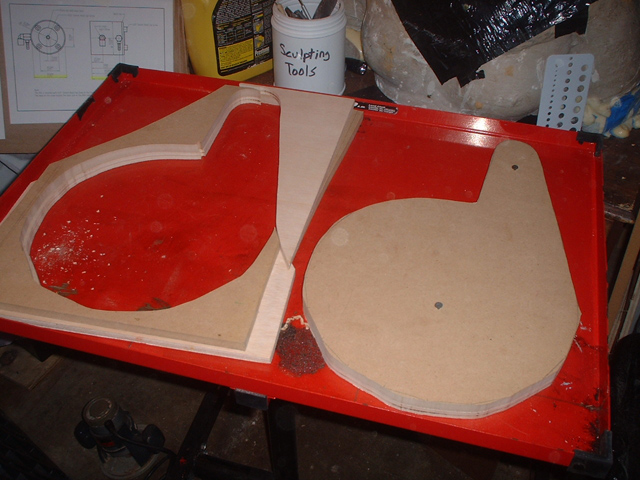
Now it's time to work on the lower half of the proton pack, The Cyclotron!
12.15 am
Using a bandsaw (or a jigsaw), I cut out the shape of the Cyclotron. The screws keep the two sheets of plywood together and that ensures matching cuts. 1:25 am
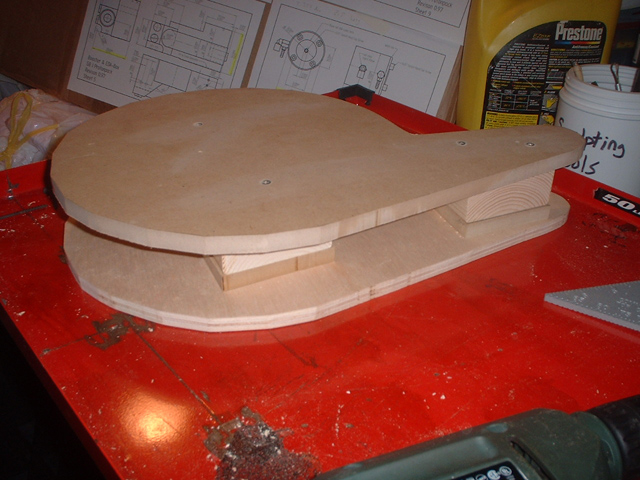
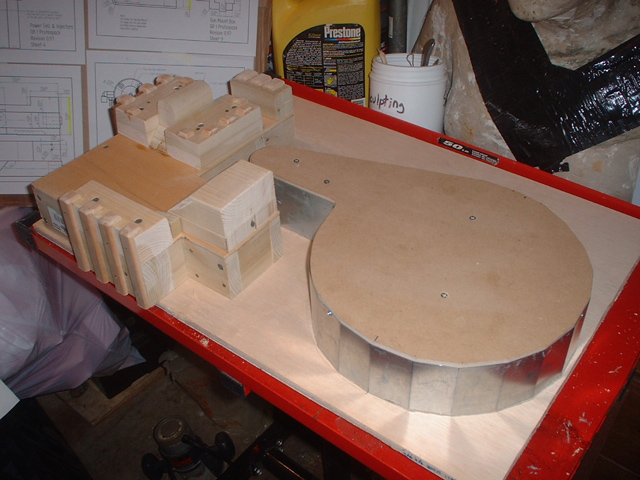
I now separate the two pieces of plywood and slip blocks of 2x4 wood in between them. I make sure the plywood plates line up vertically and screw the plates to the 2x4 spacers. 3:59 am
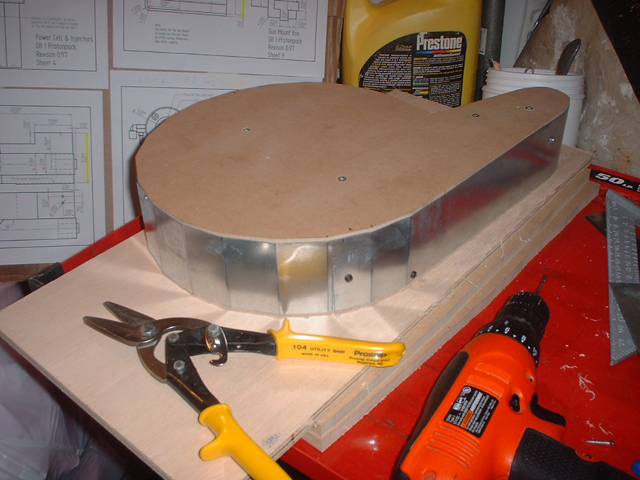
I cut a 48 inch strip of sheet metal with tin snips and walled the cyclotron with it. The bottom curve of the cyclotron is faceted and I bent the facets into the wall a vise, prior to attaching to the cyclotron. I screwed the sheet metal wall to the plywood in various places. This wall took 2.5 hours to fabricate. 4:27 am
I place and screw the cyclotron to the master plywood base of the proton pack via the bottom side of the master base. Sleep/Lunch 3:24 pm
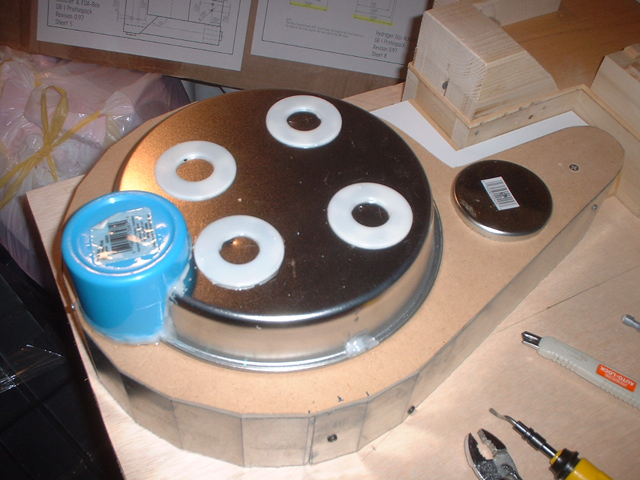
I used a metal "baking pan" for the raised circular part of the cyclotron. The 4 donut looking detail pieces are the parts of wire spindles, epoxied into place (a year later I replaced these with circles cut from 1/8 inch thick wood using a drill mounted hole-saw). The "cyclotron filter" is made from the bottom part of a blue plastic drinking mug, also epoxied into place. 9:47 pm
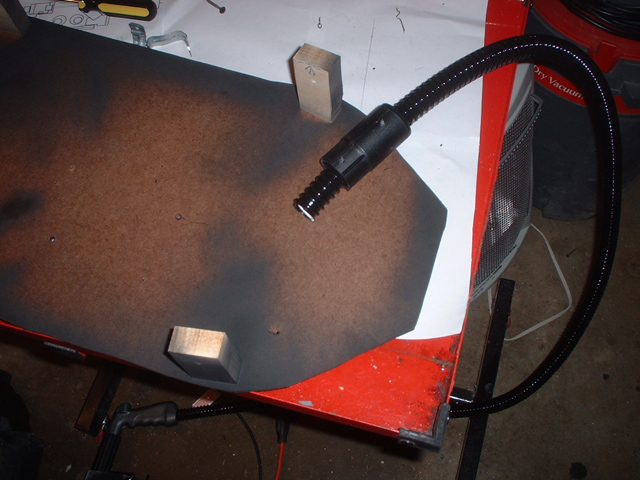
I trim the master base of the proton pack with a bandsaw. and prepare the mold for the vaccuumtable. Coating the porous wood with a mold release is crucial for getting the plastic off the mold once vacuumformed. Mold release notes: Vaseline or petroleum jelly works in a pinch, but clean-up is laborious later on. Stoner makes a nice dry-film mold release called E455 Thermoset Mold Release, which is what we use. 2 hour Dinner break
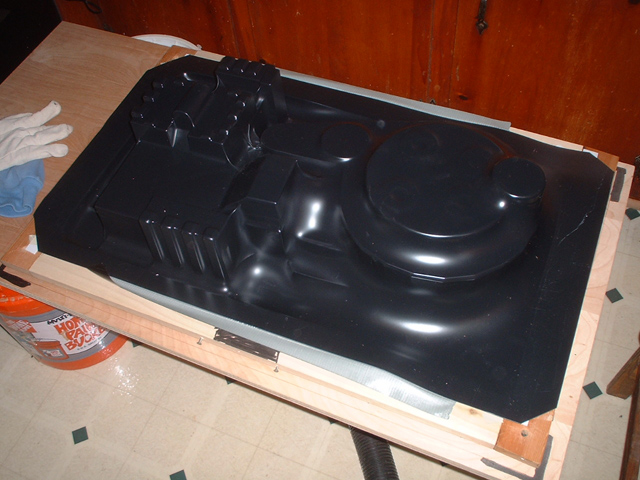
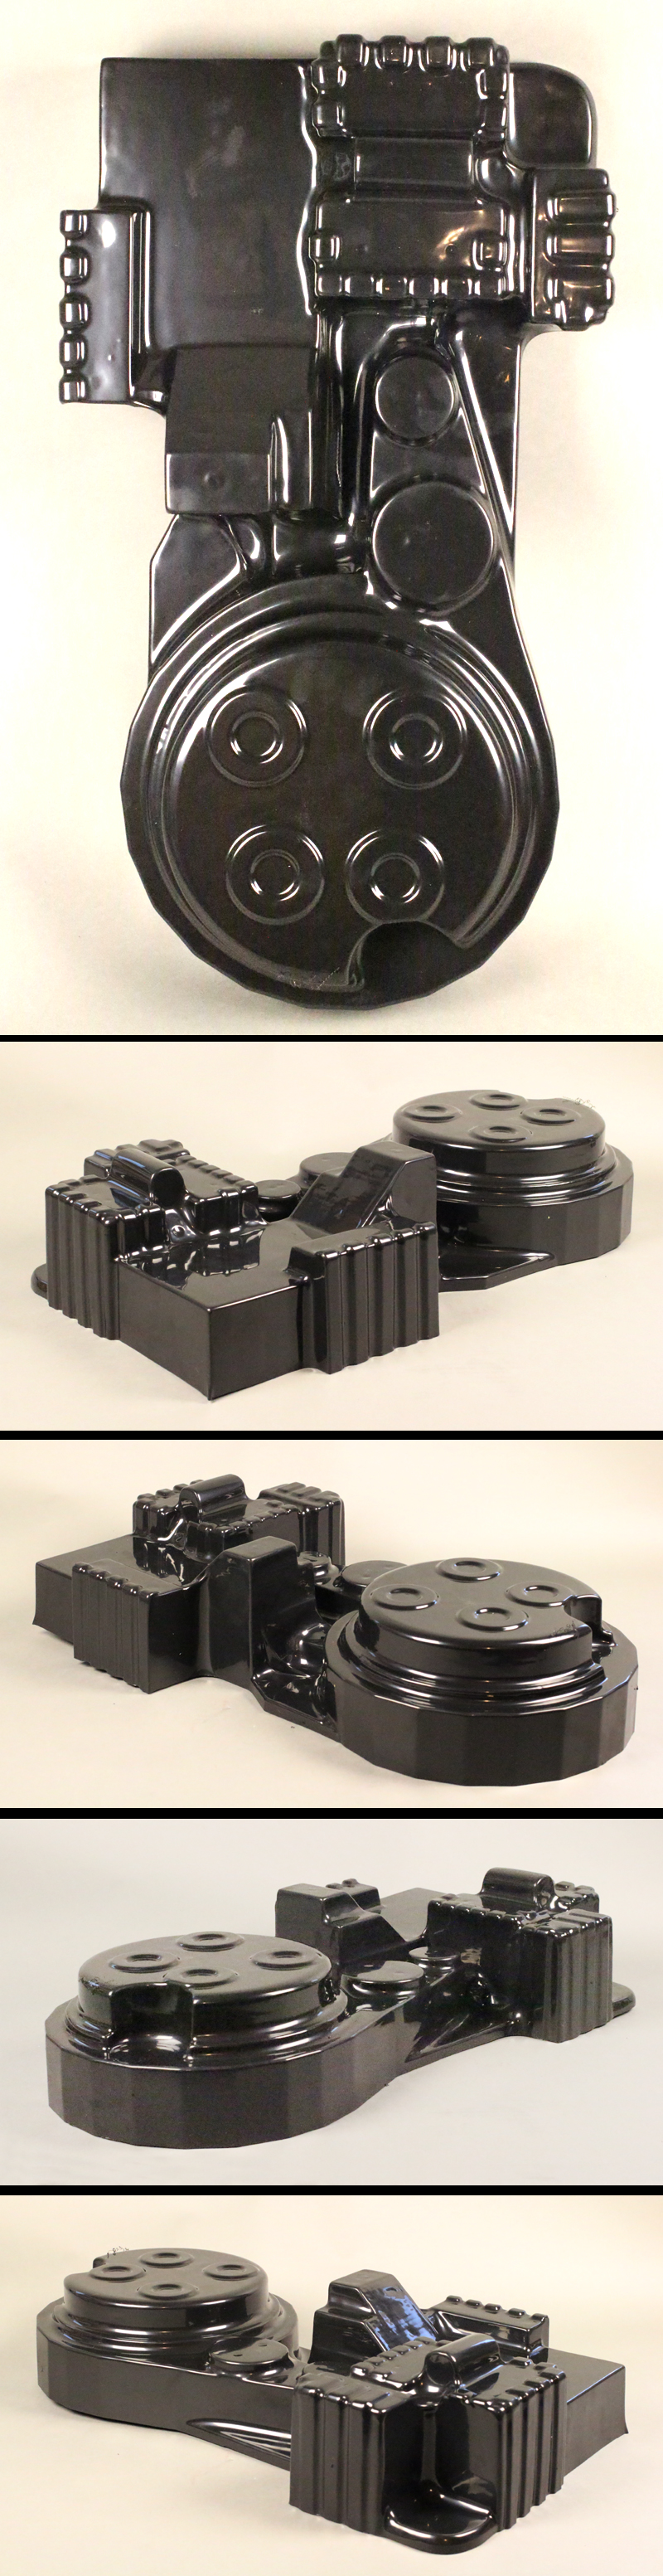
The first vacuumforming does not suck down too well.
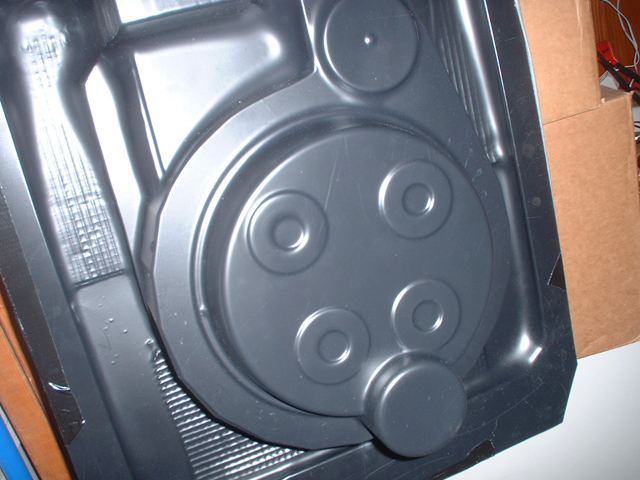
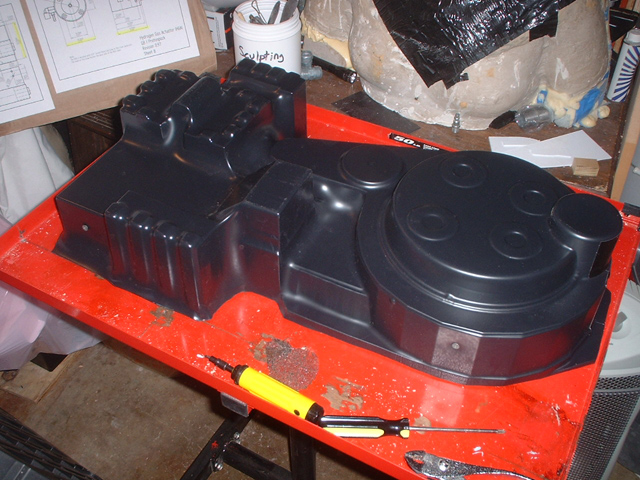
The second vacuumforming is better. The Cyclotron gains good detail and the edges are crisp.
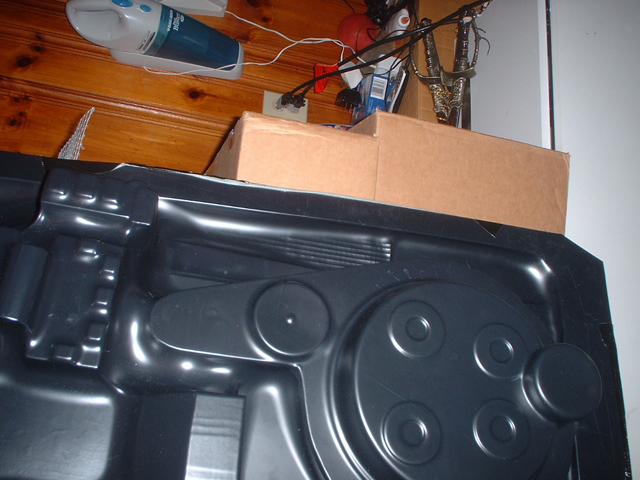
The top of the proton pack is a little soft in detail, but it will work for our needs. 1:50 am
I trim with a knife/blade the excess plastic off of the vacuumformed plastic, leaving what will be the main body of the proton pack. I also cut the master "mother board" which will make the back side of the proton pack. 3:28 pm
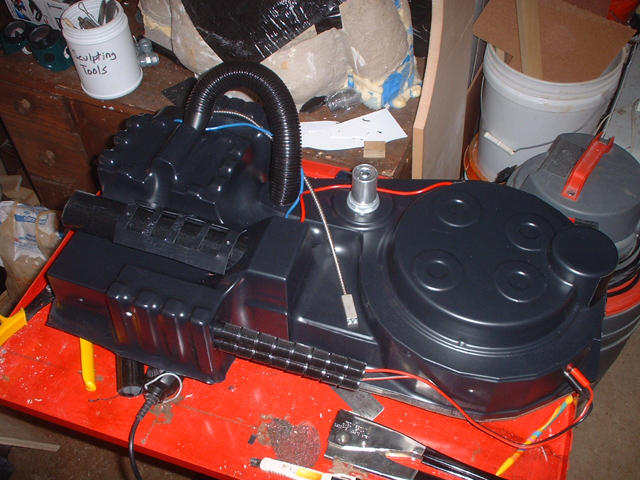
I start attaching the hoses and cables that will detail the final pack. I should have 'dry brush' painted the "distressing and weathering" onto the proton pack prior to this stage, but forgot to and had to paint that detailing on after the cables were attached. 4:39 am
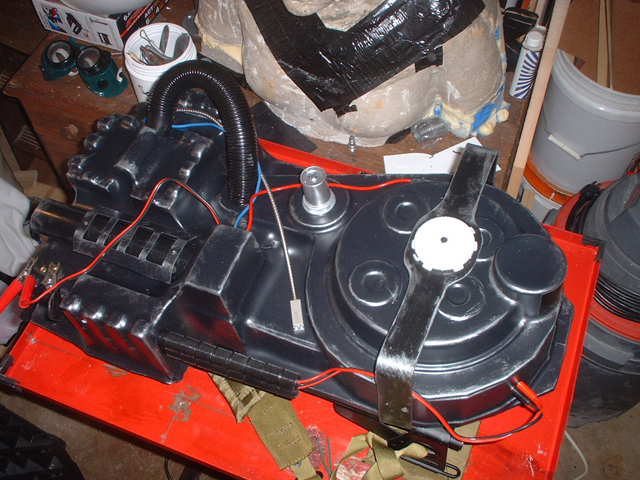
Here you can see the military "alice pack" and the cyclotron bumper attached to the proton pack. "Distressing and Weathering" paint is applied.
I attached the alice pack to the 1/4 inch wood "mother board" plate. At this point I remembered I had to attach the proton pack energy cable to the mother board too, for the stress of the cable being pulled and twisted while being used would be too much for the thin vacuumformed shell to hold up to by itself. Notice the tall wooden blocks screwed to the mother board also. These are what the vacuumformed shell screws to, keeping the plastic shell secure on the motherboard. 5:00 am
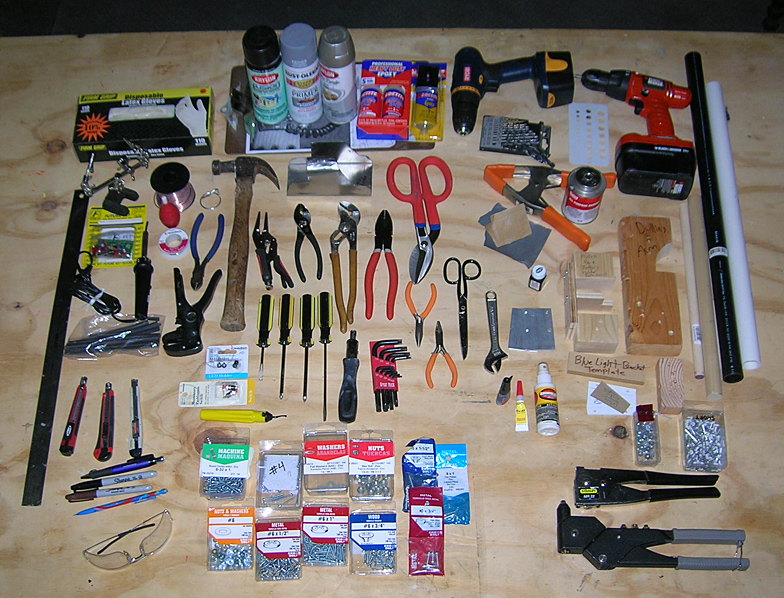
The final proton pack. Tools Used
These are all the tools I used in 2009 to assemble a proton pack for a client. I will list these tools later on.
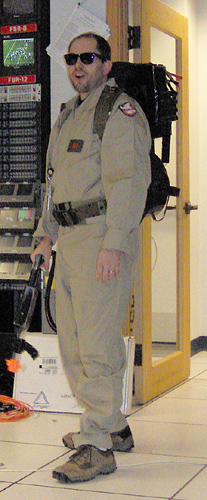
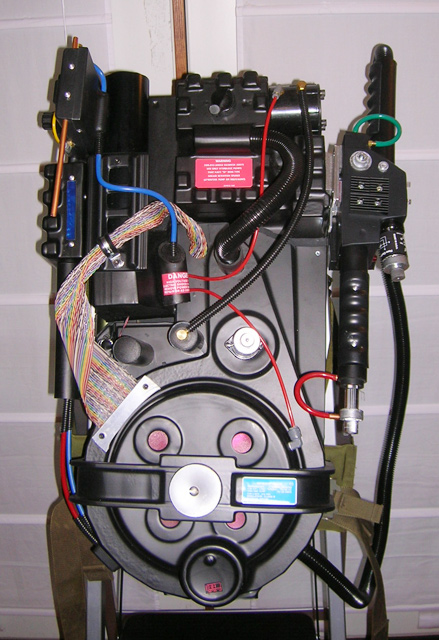
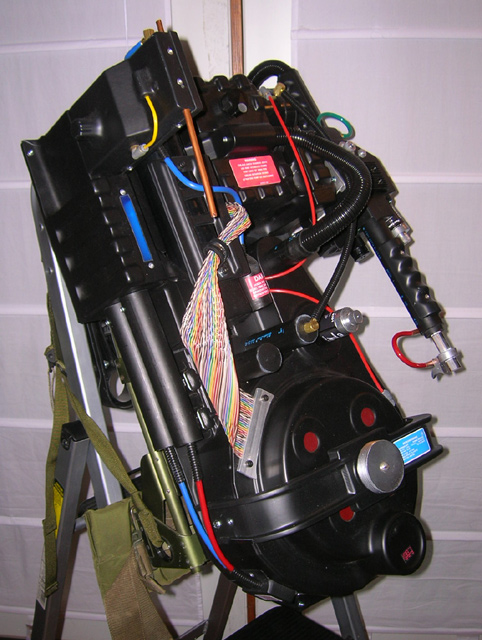
The Proton Pack in use
Above is a picture of the proton pack being used by my brother during halloween . The whole costume cost about $100.00, most of that coming from the cost of the flight suit and alice pack.
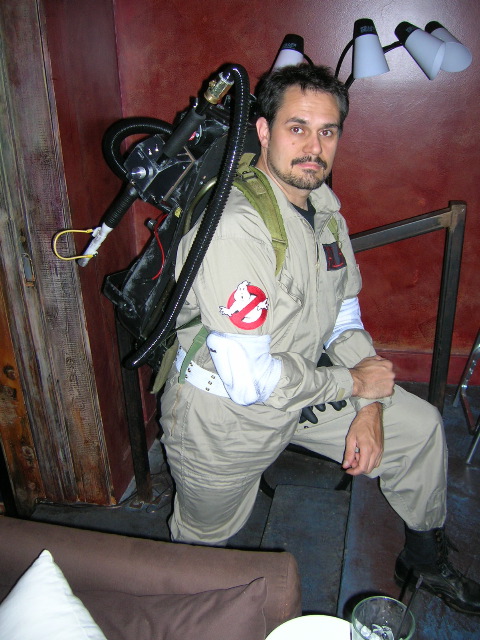
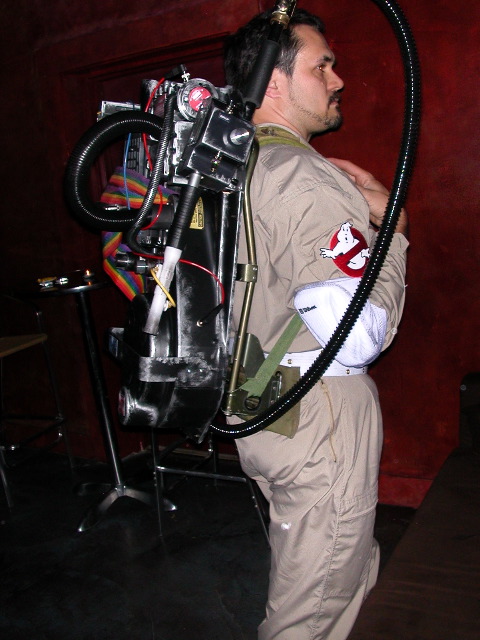
The two images above are from the following year , after I made my brothers protonpack. This pack cost about $150 to make, and then the rest of the costume was about another $85 for the clothing items (flightsuit, elbow pads, white pistol belt, GB arm patch).
The images above are an 80% accurate pack that I built the NEXT year . The pack took 23 hours to build, $238 in parts, after I already had the vacuumformed shell. :P
... and in Oct. 2011, Grant Imahara of Mythbusters tweeted, "I built the(my) proton pack in four days using vacuforms from Studio Creations and a Hyperdyne Labs lighting kit. #Ghostbusters"
| |||||||||||||||||||||||||||||||||||||||||||||||||||||||||||||


© Studio Creations - All Rights Reserved